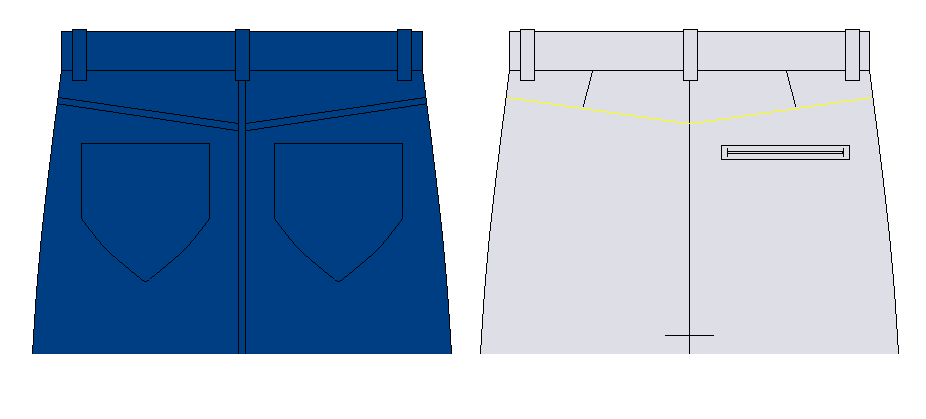
NOTE! Please read “IMPORTANT to read before adapting pants” to decide what type of back suits you best.
This pattern will give you both a “NORMAL WAIST BACK” and a “WIDE WAIST BACK”. The wide waist pattern piece is made from the normal waist pattern so you have to make this first and then adapt this to a pattern piece for the wide waist back.
Normal waist
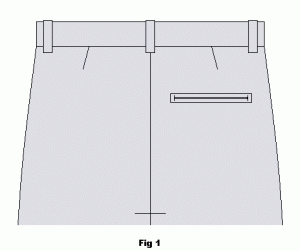
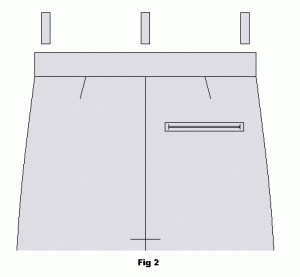
The pattern pieces are made using the back piece of the pants as basis (fig. 1). Start by removing the belt loops. If they are joined to the waist band seam or you wish to keep them, unpick the bottom stitching and pin them up onto the waist band so they can be re attached later (fig. 1 and 2).
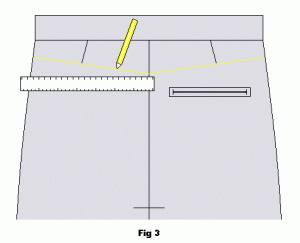
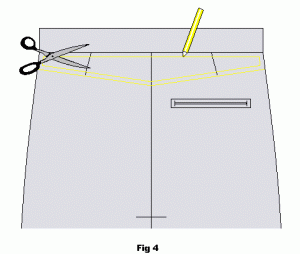
Mark the triangular piece you will have to remove from the back piece of the pants. As guideline for shape and size of the piece use a pair of jeans in your size or pants which have a similar top back piece (fig. 3 and 4). Note that after you have marked the piece you will have to add 1 cm seam allowance (making the cut out piece´smaller – se also fig. 5 with text).
Below you can see how the triangular shaped piece in the back of jeans looks and how you shape the cut out in pants back from this. Remember seam allowance see fig. 5 under this illustration.
Cut out the marked triangular piece. Be careful to leave 1cm for seam allowance all around (fig. 5). 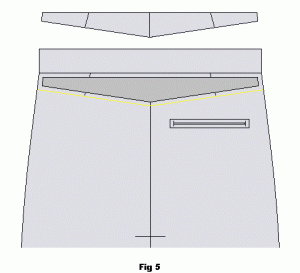
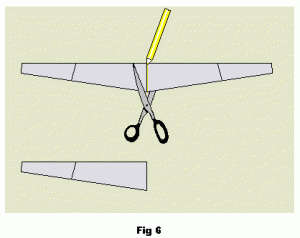
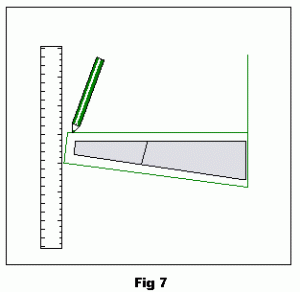
Cut the removed triangular piece in half (fig. 6). Place piece on fabric, (use cheap cotton). Mark out the shape of the piece – adding 1cm onto the top, bottom and sides but not the middle – on the cottton fabric. Draw a middle line extending upwards on the cotton fabric. Follow the centre mark of the cut out fabric (fig. 7).
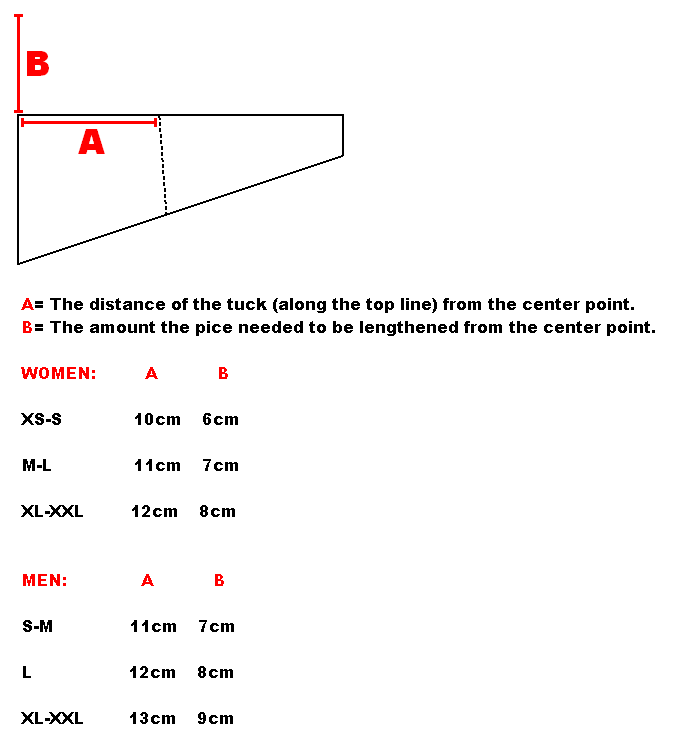
Consult the measurement sheet for placement and size of alterations.
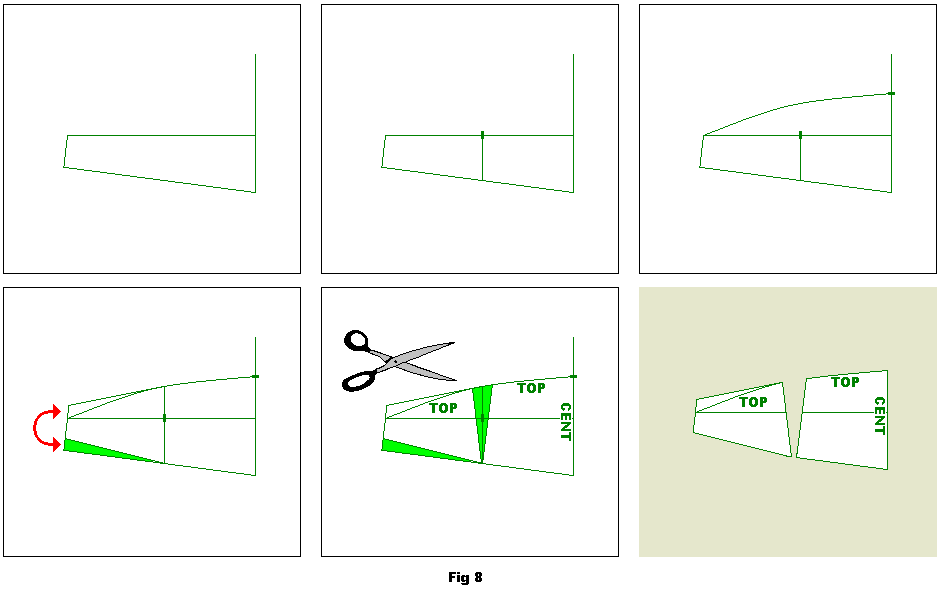
Draw tuck marks according to the placement given by the measurement sheet. Also, according to the measurments, draw a rounded top line as shown in the top three pictures below (fig. 8).
Bottom (fig. 8 ) left picture below shows how to create the horisontal tuck needed to alter the angle of the pants. Create this side (horisontal) tuck by marking a segment 1 cm wide at bottom of pattern piece side tapering down to nothing at the mark of the tuck point (bottom of the drawn vertical tuck mark). This will be cut off. Compensate for this horisontal tuck by adding 1 cm at the top side of the pattern piece tapering down into nothing at the vertical tuck (top of the drawn vertical tuck mark). Reshape the upper curve.
Create he vertical tuck by marking a segment 1 cm wide and tapering down to nothing at the end of he tuck line. The marked vertical tuck line will be the center for this as shown in the bottom middle picture above (fig. 8). Cut out the pieces as shown in the bottom right picture above.
As shown below (fig. 9), lay the pattern pieces on a new piece of cotton and mark the seam allowance by adding 1 cm along all edges except the centre line (the centre piece will be cut on the fold of the fabric). Mark the fabric grain and label the pieces. Cut out.
These are your final pattern pieces for NORMAL WAIST.
Wide waist
The pattern pieces for the wide waist is created by adapting the centre pattern piece for the normal waist as shown in the picture below (fig. 10).
Lay the centre piece for a normal waist on a new piece of cotton. Trace the exact lines for the top bottom and side. Add a small triangular segment on the right side of the centre pattern piece. Extend the piece 1 cm at the top side of the centre fold and taper down to nothing at the bottom of the centre fold. Cut out.
This piece teamed with the already cut side piece makes up the pattern pieces for the WIDE BACK .
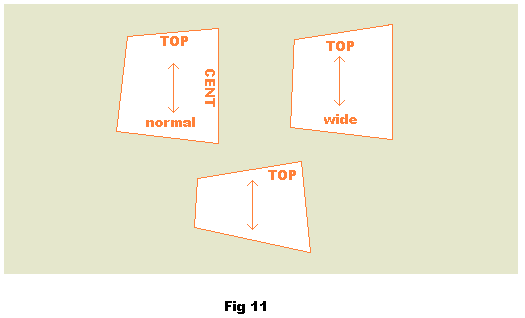
All the pattern pieces for pants NORMAL and WIDE adaptations (fig. 11).

