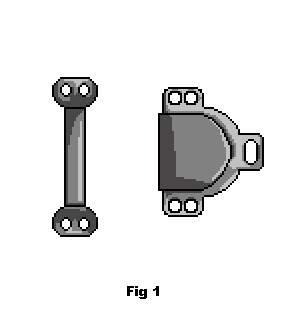
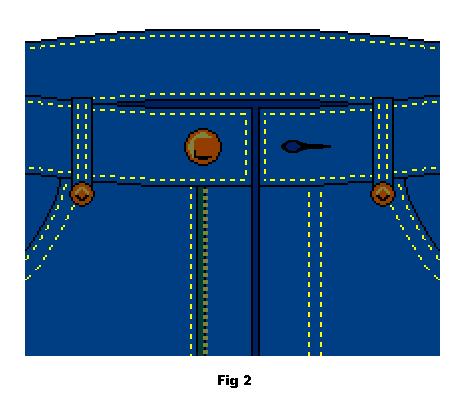
A jeans button can be fiddly for some users and a hook i and eye is often an easier option (fig. 1). However, the buttons on jeans are difficult to remove because of the style of rivet that is used to anchor them (fig. 2). To remove the button you need to cut it out.
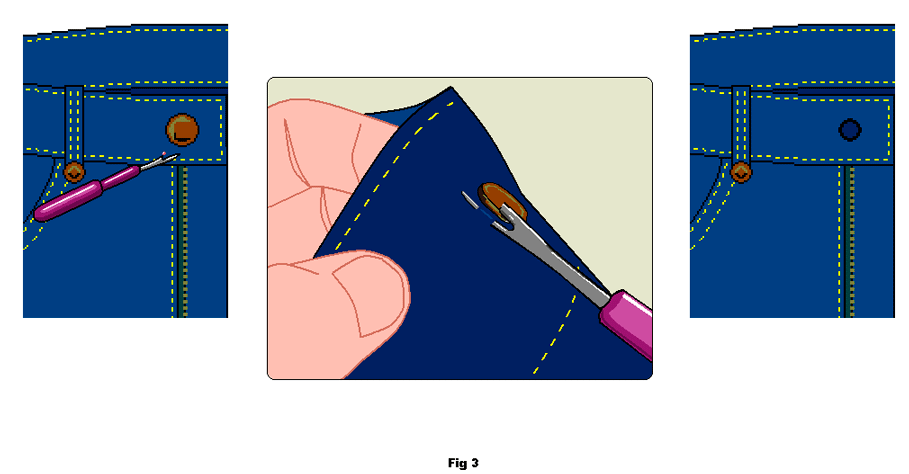
Use a sharp unpicking tool and cut through the fabric of the waistband as closely to the button as possible on both the front and the back. Be sure to make small cuts to remove as little of the surrounding fabric as possible. Now there will be a hole left in fabric (fig 3).
Sew the button hole shut (fig. 4). 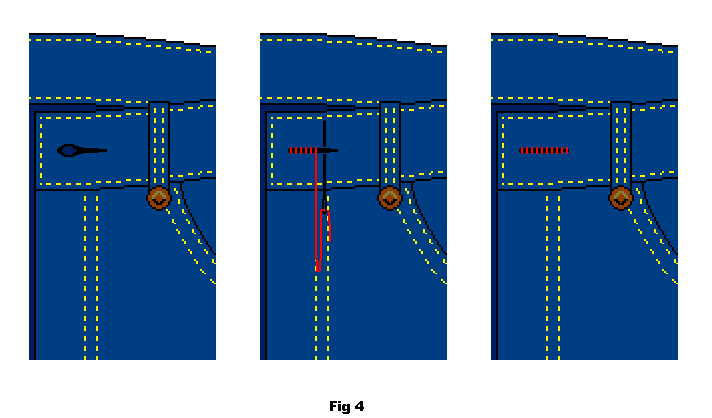
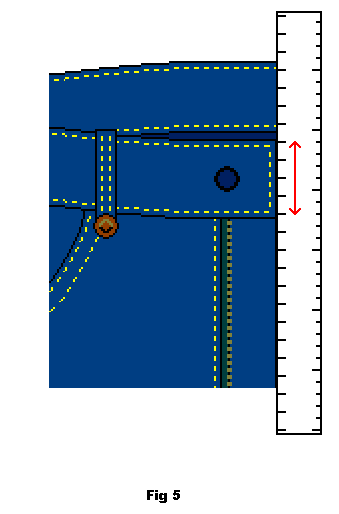
To cover the front as well as the back of the button hole you will need to use fabric patches. Measure the width of the waist band, in this example it is 4 cm (fig. 5).
On matching fabric (either denim or other fabric), draw out 3 squares – 3 cm x 4 cm. Add 1 cm seam allowance all around and cut out. To get matching fabric you can remove and use the fabric of the back pockets as these are redundant when you sit on them. This can provide a small amount of matching denim for the cover squares but other fabrics are fine too (fig. 6). 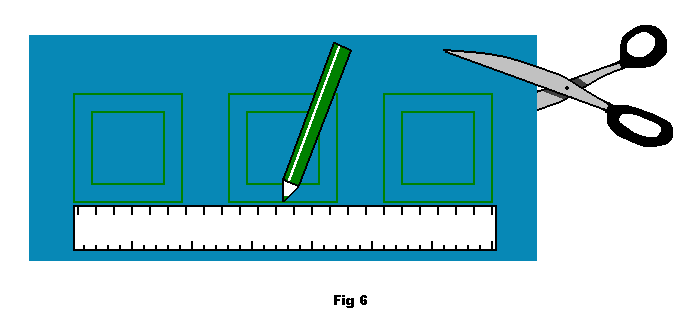
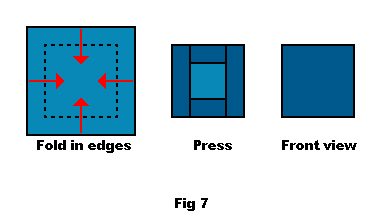
Press the seams under leaving a small square. Remember that you will need to make 3 small squares: 2 for the front and back of the cut hole from the button removal; and 1 for the back of the button hole opening (fig. 7)
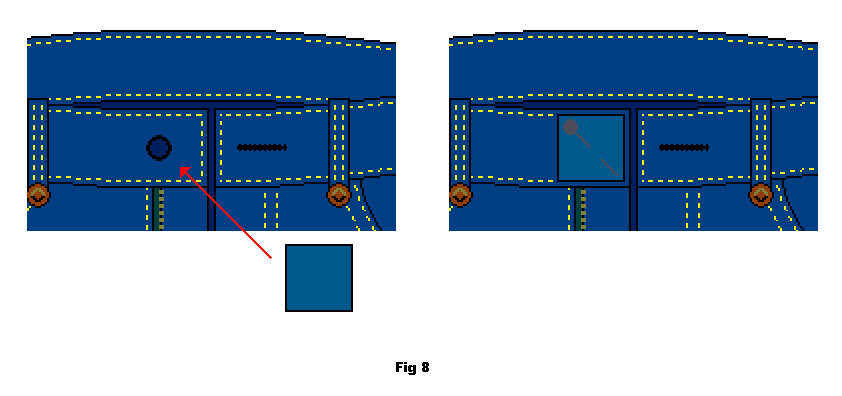
Pin the patch into place on the front side so that it covers the hole (fig. 8).
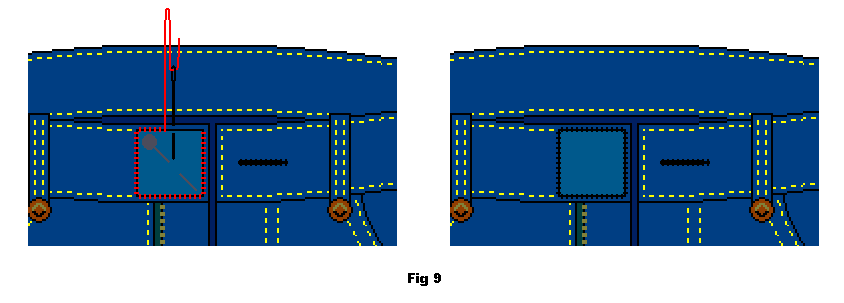
Hand sew in place (fig. 9).
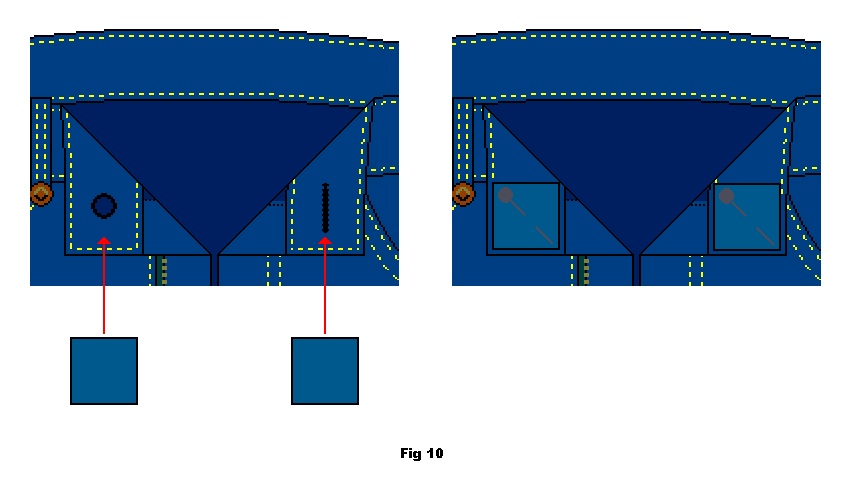
Repeat on the back side over the back of the button hole and the hole after the removed button. Pin the patches into place (fig. 10).
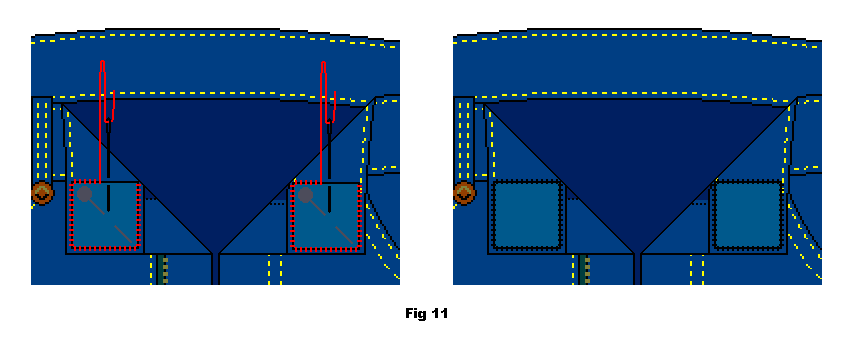
Hand sew the patches into place (fig. 11).
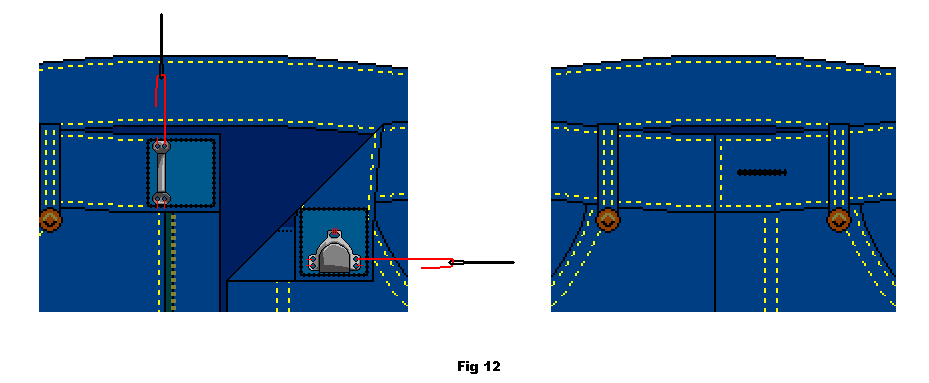
On the front side, where the button used to sit, sew the “eye” part of the “hook and eye” set. Place it a little further away than where the button sat before. Use good thread and make sure the hook is sewn in securely (fig. 12).
Sew the hook on the other side, on the inside, on the edge, sew in securely. The hook and eye should match up when closed to create the same placement the band had before with the button (fig. 12).



I need to make life simpler for my special needs brother. I need to change the hook and eye on a pair of pants to button and button hole. How do you know where to place the foot so that the button hole will be in the correct place?
Sorry for being missing in action . Now …
I suggest you test sewing a button hole on a separate piece of fabric before trying it on the pants. More likely to succeed and less likely to fail with the added bonus of knowing exactly how to place the foot etc. Sorry dare not give other advise than this.
Do you have any suggestions for adapting a pair of suit trousers so they can maintain the look in the front but be pulled on and off.
Is it any rule or public impression for using jigger button or hook-eye for jeans?
I think jeans with hook and eye make it looks ‘cheap’….I’m not sure…just guess…