NOTE! Please read “IMPORTANT to read before adapting shirts/tops” to decide what type of back suits you best. Also note that these instructions can be followed for SHIRTS and other hooded or collared TOPS.
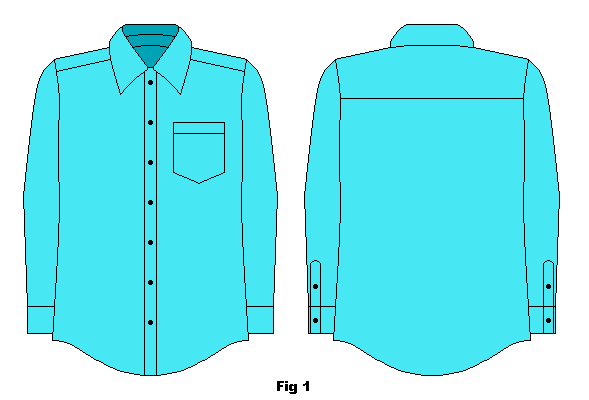
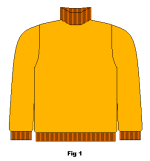
You will need a shirt or other collared or hooded top (slightly looser fit) for this as well as some non-stretch cotton for pattern making and some fabric in a matching colour for the actual adaption/replacement piece (fig. 1).
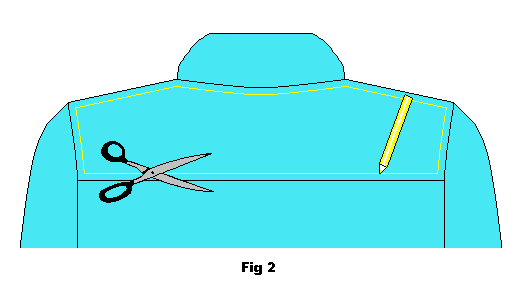
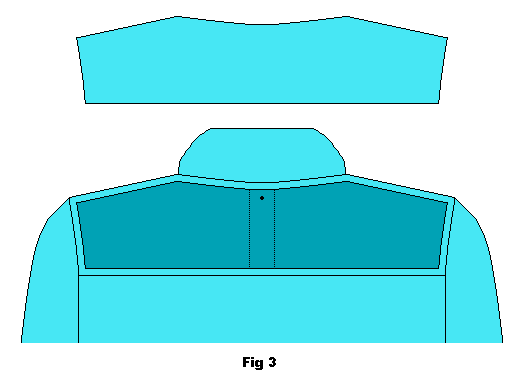
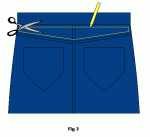
Mark and then cut the inner yoke piece away using the seams surrounding the back yoke as a guide and give yourself a 1 cm allowance. Cut carefully as you will use this piece as a base for your pattern (fig. 2 and 3).
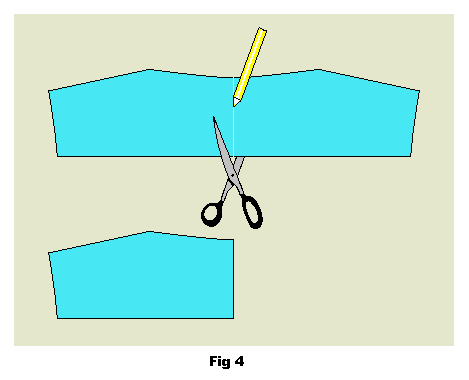
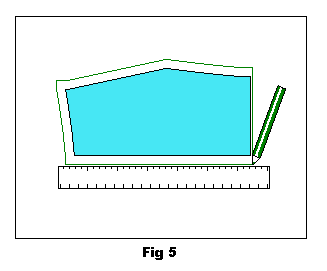
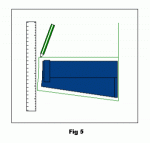
Cut the removed shirt (yoke) piece in half. Place one of the halves on fabric (use cheap cotton) and redraw the piece adding 1 cm to the top, bottom and sides of it. Do not add to the middle of the piece (center) (fig. 4 and 5).
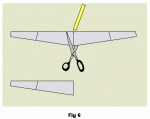
Using a ruler make a mark approximately 2 cm up from the shoulder point and 3 cm up from the mid neck point on the center fold. Use the neck and shoulder points on the original piece as a guide but measure from the redrawn line. This is an estimate for a medium size shirt. For large to very large size shirt you may want to add another extra 0,5 to 1 cm. For smaller sizes you may want to use 0,5 cm less. See illustration (fig. 6) below image I and II.
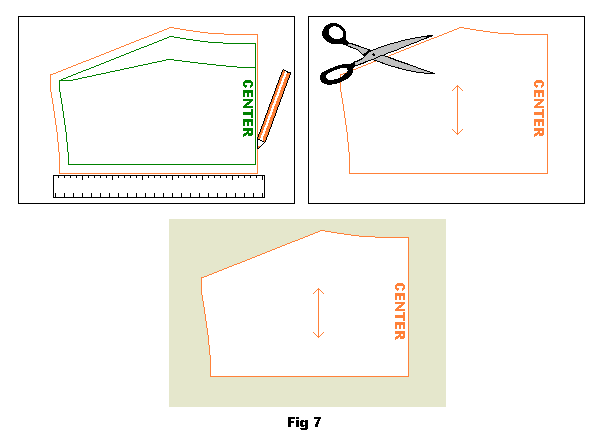
Use the original redrawn lines as a guide and drew new line along the top connecting the points (fig. 6 image III).
Cut out the piece and lay on a new piece of cotton (fig. 6 image IV and V).
Add new seam allowance of 1 cm to the top, side and bottom but not the center line and cut out. This is now your pattern piece (fig. 7).
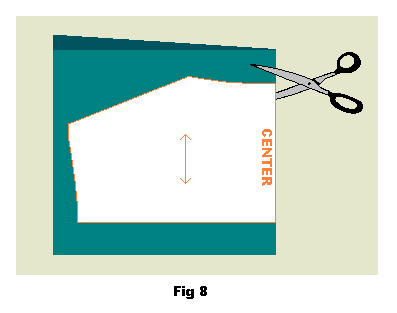
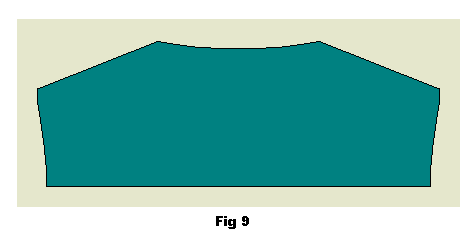
Lay your pattern piece on your matching fabric. Cut the piece on the fold i.e. lining up the center line with the folded edge of the fabric (fig. 8 and 9).
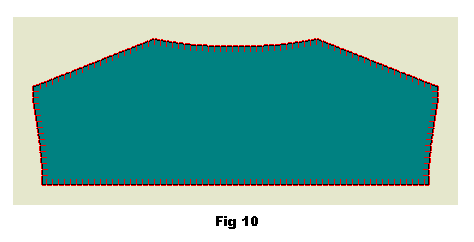
Overlock or zig-zag the edges of the piece to stop fraying (fig. 10).
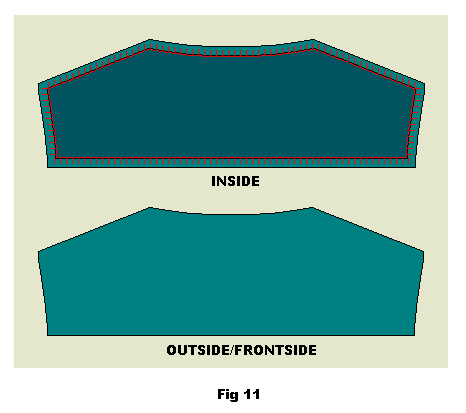
Fold all the edges under 1 cm and press well (fig. 11).’
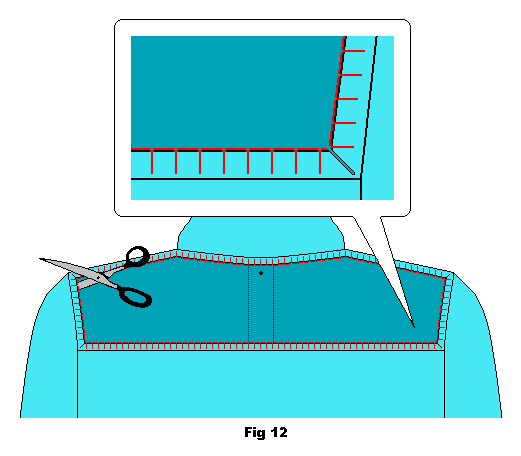
Zig-zag the raw edges of the shirt if possible. Cut small notches in the corners of the hole on the shirt. This allows for more movement of the original garment when inserting the new piece (fig. 12).
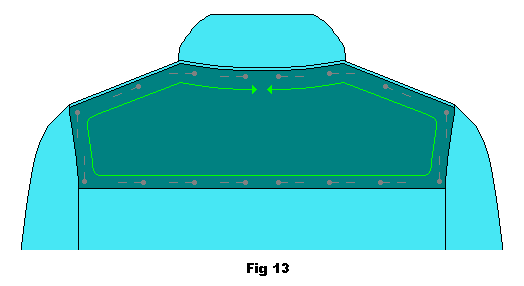
Begin to pin the new adapted piece to the shirt. Start at the bottom (at the middle point) and work your way out and up to the centre top. Fold the ends under when you get to them. This might take some manipulating and readjustment to fit (fig. 13).
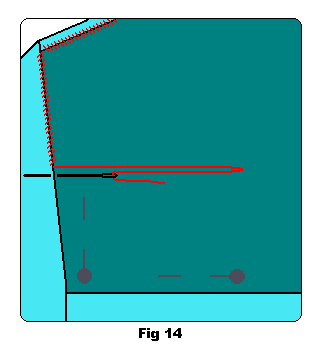
Hand sew adaptation piece into place (fig. 14).
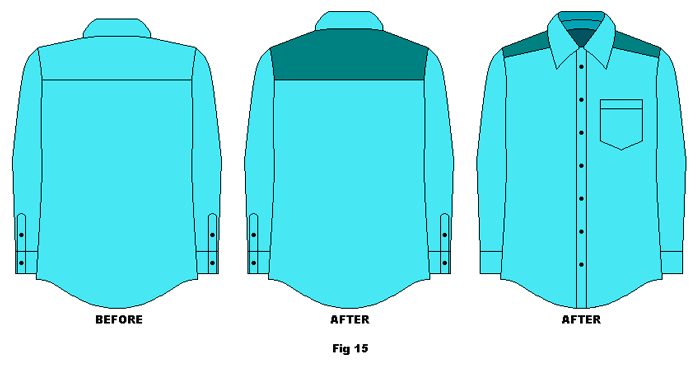
Finished example of the shirt (fig. 15).
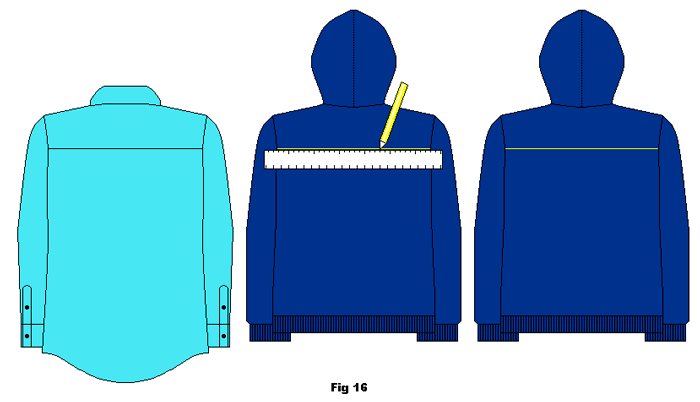
The same methods can be used on other collared or hooded garments. Use a shirt for comparative placement of the cut line, then follow the same instructions (fig. 16).
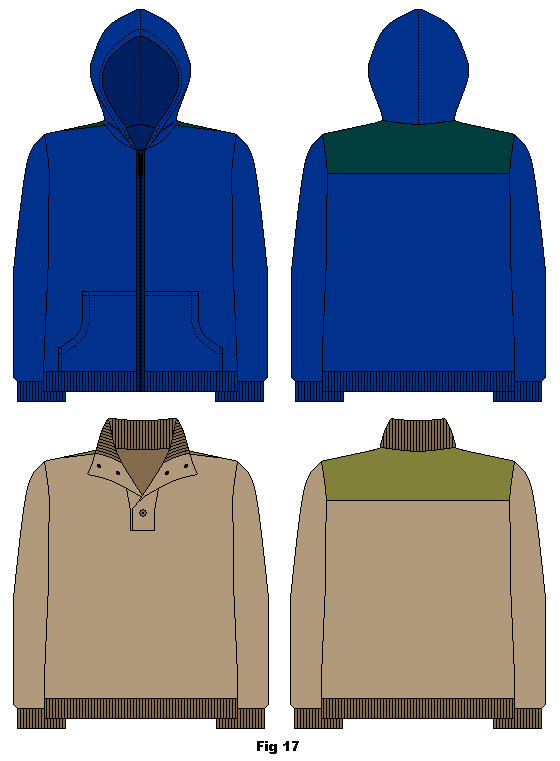
Alternative garment examples (fig. 17).

