
Pages to read before using the patterns:
- printing and assembling the patterns,
- size sheets,
- simple adaptions of the patterns,
- calculating amount of fabric needed,
- making a sample garment,
- examples of how to make the most of the patterns,
- tips on more useful adaptations.
Printing and assembling the patterns
All the sizes are together on one pattern. This is then divided into A4-paper for printing.
When they are printed they come out with a 2 cm marked border. It is very important that the border is exactly the right size (check your printer’s settings) otherwise the pattern will be wrong. Make a test print first!

Each pattern print-out has a label which states the following:
– what the pattern piece is, (in this example) “Women’s Jacket 1″
– which part of this pattern it is, here “Front”
– how many pieces there are to this pattern and which piece this is in that sequence, “(1 of 8)”, meaning there are eight pieces in the group and this is piece number one.
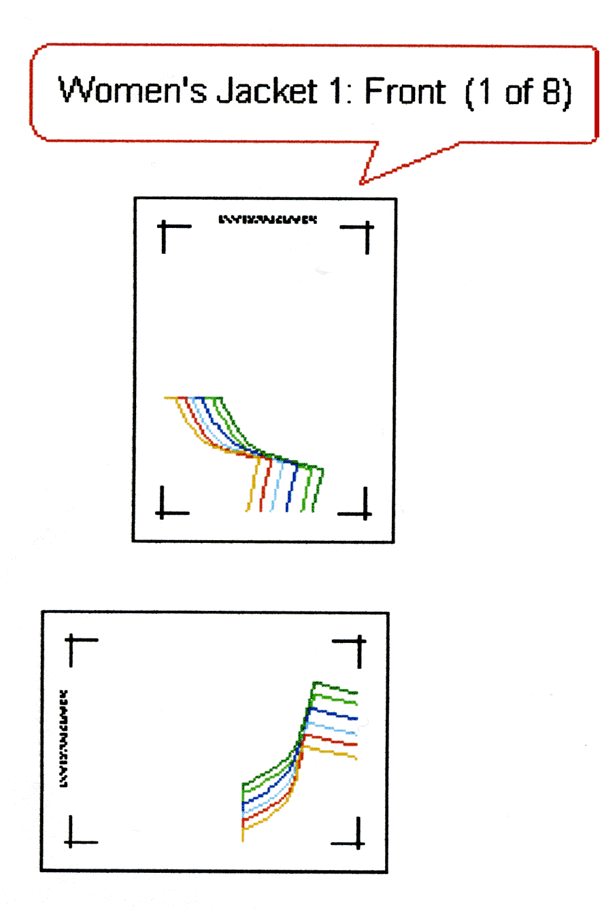 This label will always be at the top of the page if the print out is vertical, and along the left hand side of page if the print out is horizontal.
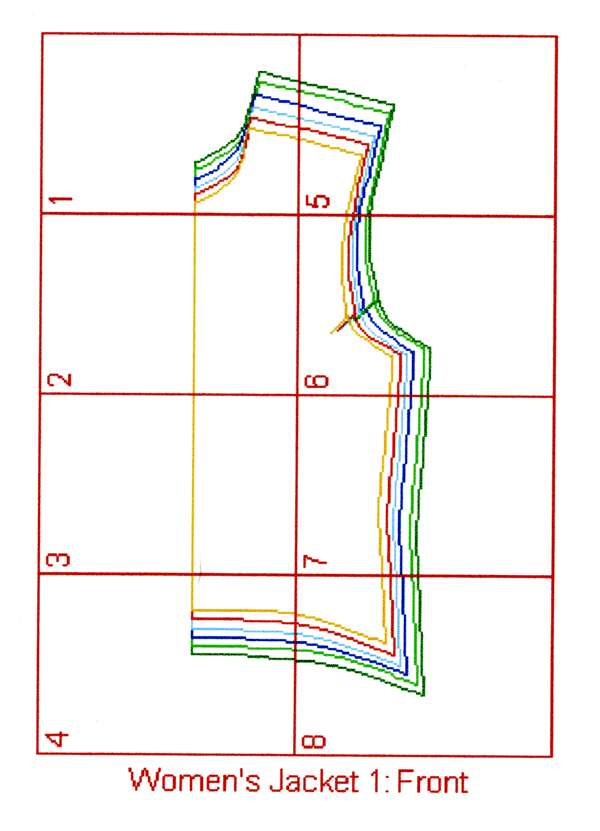
The pattern layouts show how the A4 paper print outs join together. The numbers refer to the numbers on the print outs and the layouts also show if the print outs lay vertically or horizontally.
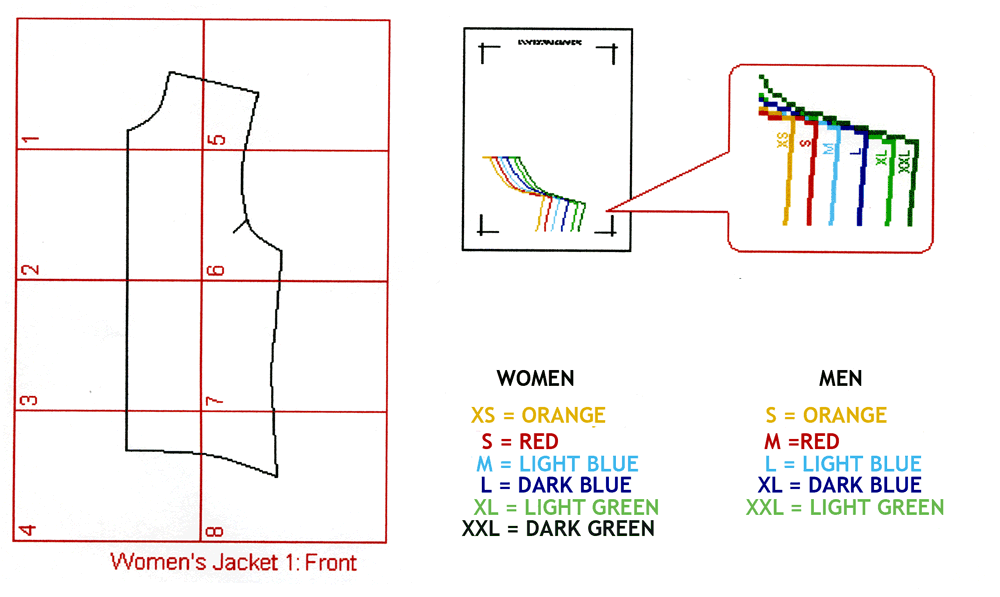
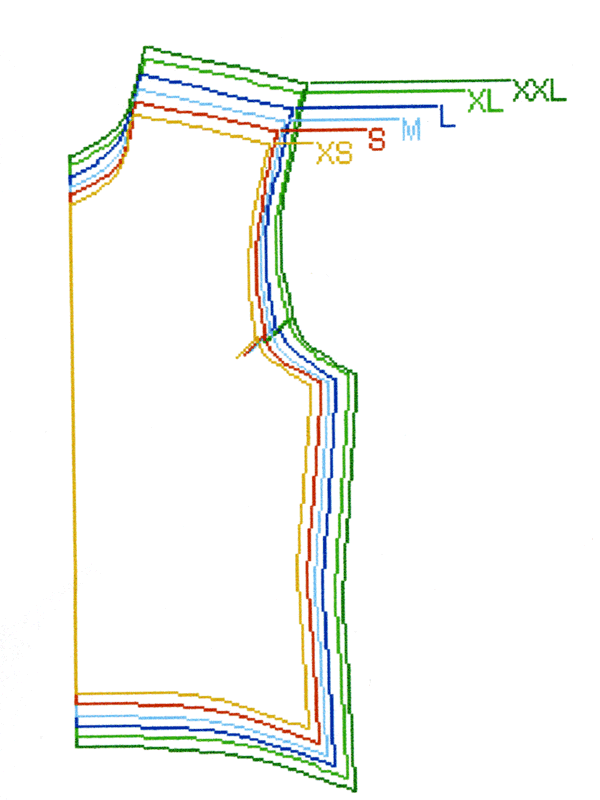
Page 1 of every group of the print outs has the sizes on it. But through the whole project the patterns are colour coded as follows.
As well as the pattern print outs, you will need a ruler, pencil, scissors and sticky tape. If you want to make greater use of your patterns, then tracing paper is also needed. A roll of non-greased sandwich paper works as a great, inexpensive tracing paper.

To join all print outs together, some of the borders (those highlighted in the picture) need to be removed.
Simply rule a line along the markers of the border and then cut it off.
Now you just line up the border marking points and tape the pieces together.
This is your pattern. 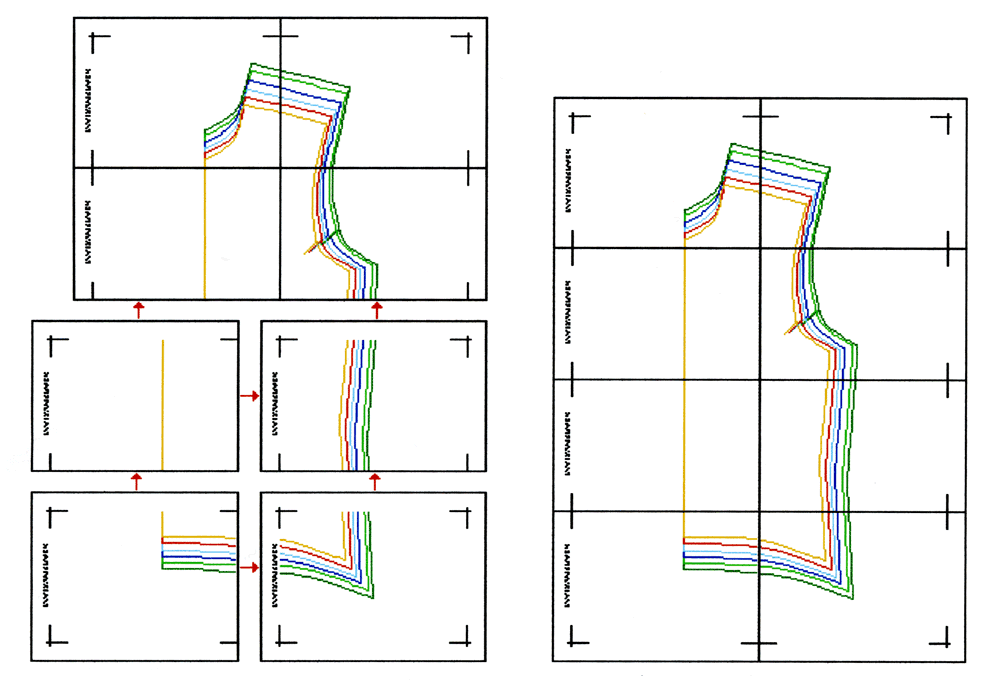
Then lay the tracing paper over the pattern and trace out your size.
You can make any necessary changes
and alterations on this copy.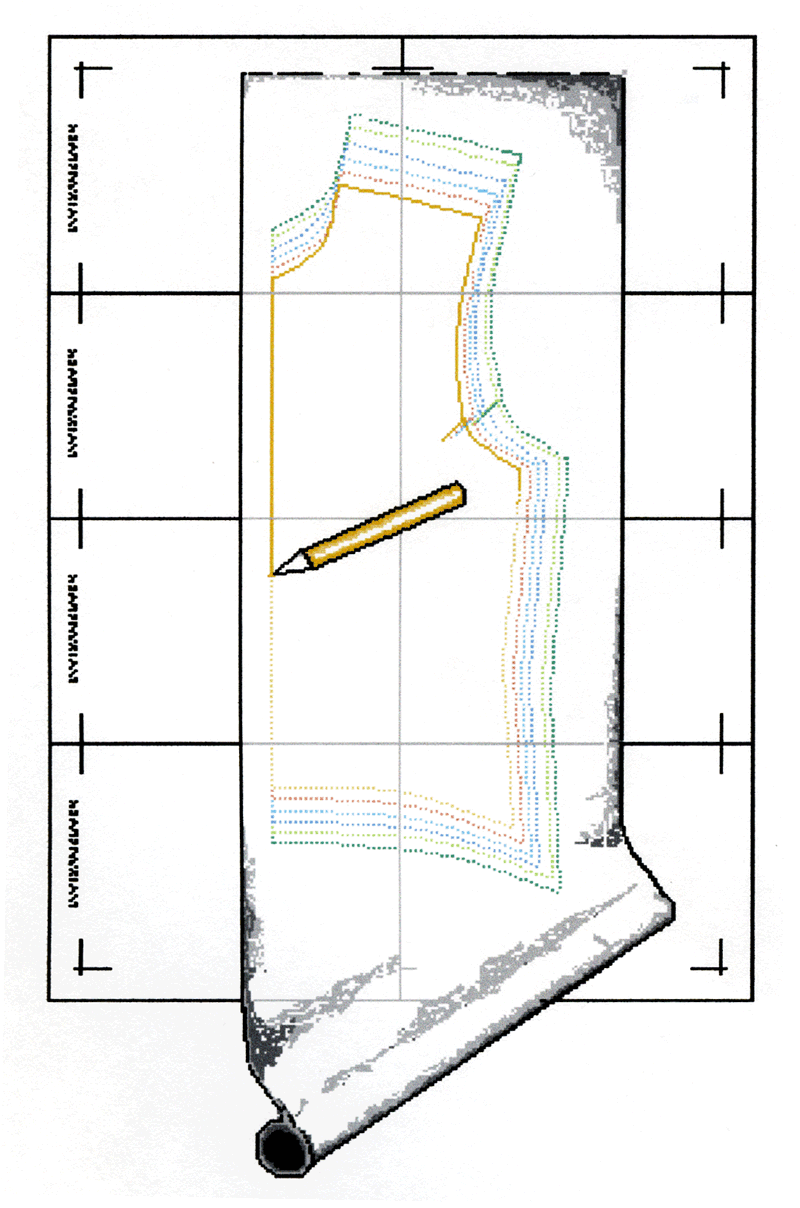
Now you have a hard copy of all the sizes. And a copy of your own size which you can cut out and use.
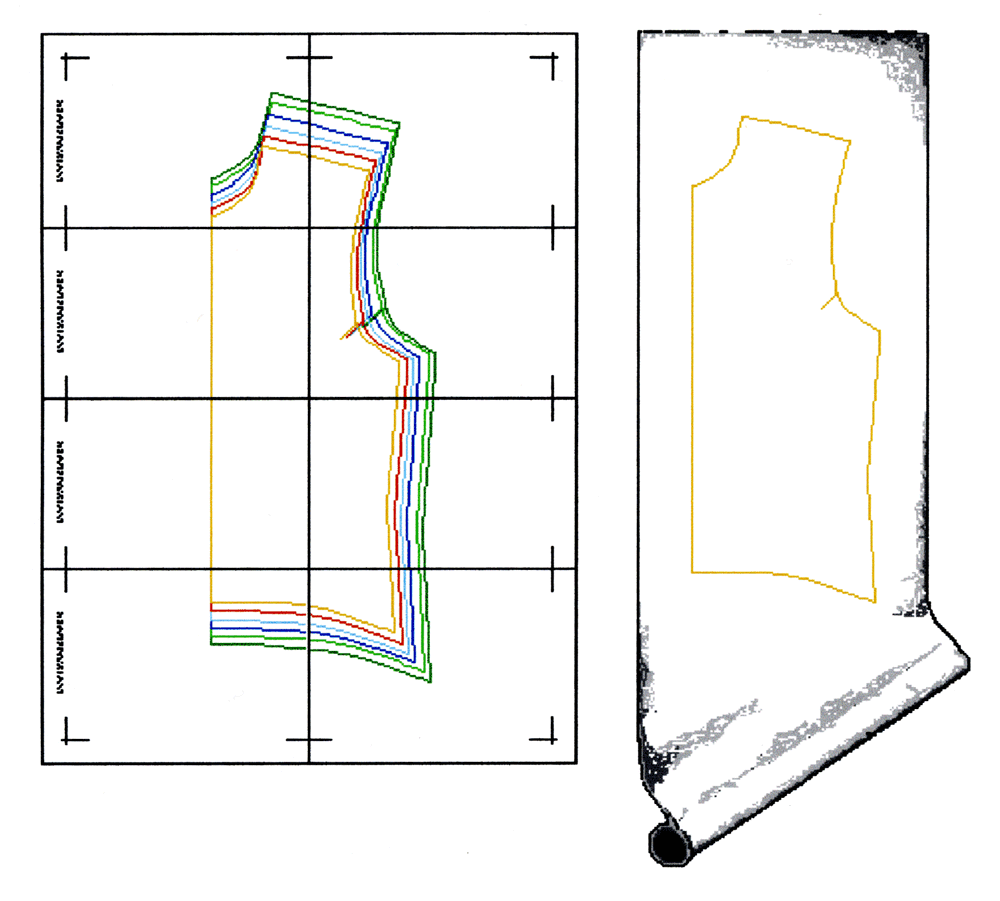
Some pattern pieces are printed in such a way that a single print will need to be cut and divided and put back together in a different way. Cut along the dotted line, and remove the required borders, then join with tape like the other pattern pieces. then make a copy of your size with the tracing paper.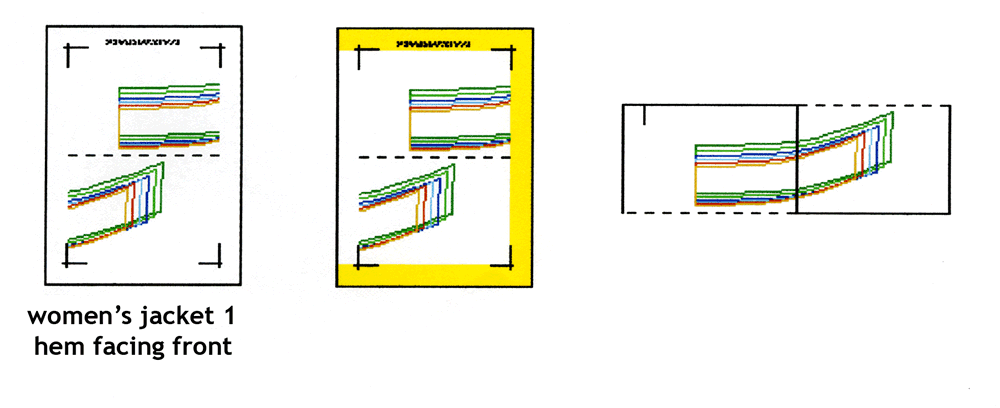


Hejsan! Hur förändrar man mönstret till en baseball jacka? Eller finns det färdiga mönster på det någonstans?
Kolla under jackmönster för män. Där finns mönster till en “bomber”jacka med raka raglanärmar. Tror det fungerar.
Pls i apreciate it highly but i want specify that the use of lighter english will be required to give good understanding.
We did the illustrations to make it easier. This is as much as we can provide. I’m sorry if that’s not enough for you.
I love this, it is self explanatory. Thank you so much. More grease to your elbow
And thank you for teaching me a new idiom.
The right idiom is actually more power to your elbow….not grease.
Jag får inte ihop mönstret till dam byxornas bakdel??? Jag lägger ihop pappren som du beskriver på bilden men det stämmer inte för mig.
Fram delen på byxorna var inga problem, så jag gjorde samma sak med bakdelen men får det inte att stämma.
Jag lägger ihop
1,2
3,4
5,6 osv . Vad gör jag för fel?????
Nej jag visade fel
1,8
2.9
3.10
4.11
5.12
6.13
7.14
Hi!
The parts for the women´s trousers don´t seem to fit, the back part. Could you please look into it. Otherwise nice patterns. Thanks! Jo