Click here to return to main page for simpler adaptations
Slits in sidseams
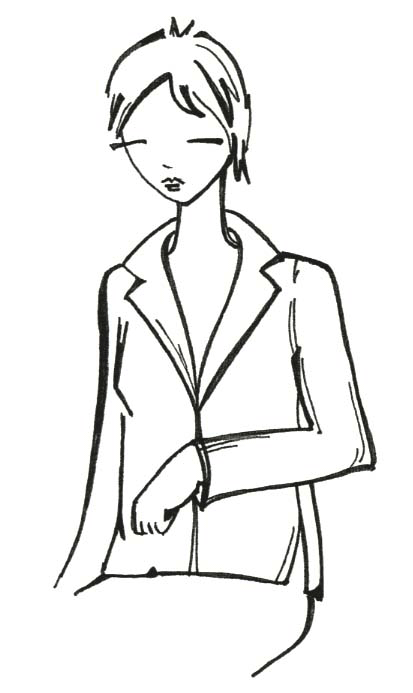
One way of escaping ugly fabric fold on the front side of a jacket is to make slits in the side seams. If you choose a pattern which is “long enough” all you have to do is to stop the side seams from running the whole way down to the hem, creating slits at the sides of the jacket.
To prevent the inside of the jacket or the lining from being visible in the opening of the slits, cut a wider seam allowance at the point of opening. Try making the slits high enough to end just above your hip bone.
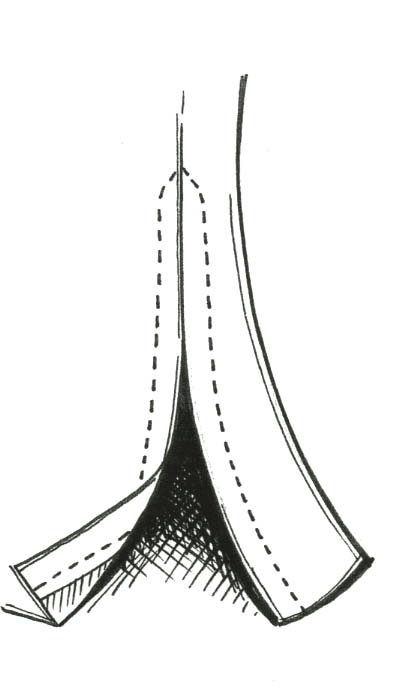 You can attach the seam allowance against the inside of the jacket by ironing on a piece of “hem tape”. Another alternative is to sew is one extra seam around the edges. This will look like this.
Open slits at bottom of back piece
A more complicated way of making slits in jackets is to position them, not in the side seams, but in the back piece of the jacket. In shops for riding gear you often find jackets with slits positioned in this manner. Riders have partly the same problems with suit jackets as wheelchair users. The jackets should sit nicely fitted at the front when you sit down in the saddle, at the same time provide space enough around the hips for movement.
The solution is to make two slits positioned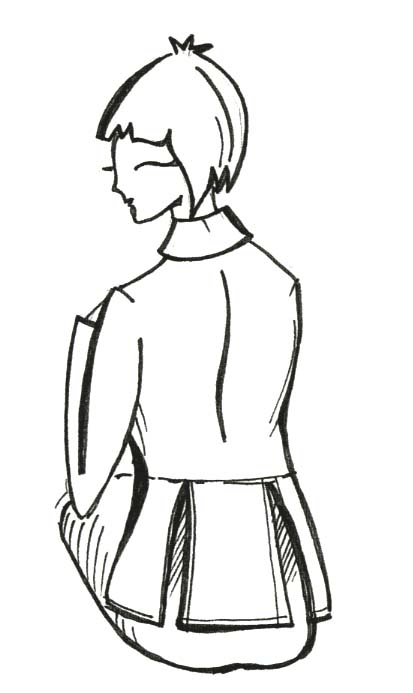
a little bit back of the side seams. Exactly where you should position them depends on individual preference, but a suggestion is to measure the width of the back piece. Calculate how much 15% of this is and use this as a measure for how far back from the side seams you should position each slit. You might want them even closer to the side seams, for example using 10% of the back piece width. This is how the jackets back piece will look.
Closed slits at bottom of back piece
If you want a back piece with invisible slits you can make them by using overlapping pieces. The simplest way of doing this is to cut the pattern for the back piece and attach a new pattern piece (actually it’s three pieces) for the part where the slits are positioned. Let the middle piece of the back part, which is going to be attached to the main back, overlap the side pieces with 5 to 10 cm at each end.
It will look like this.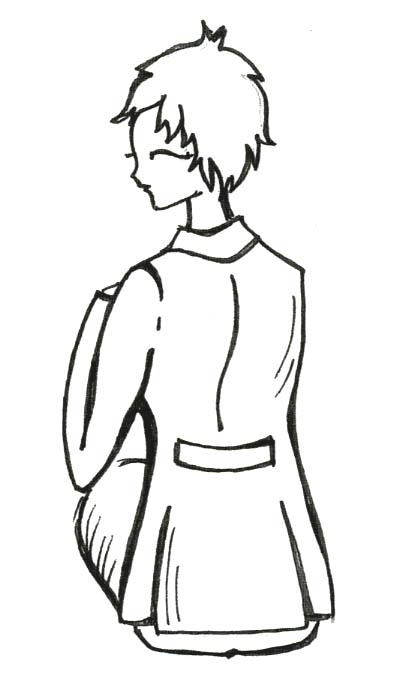
Cut the fabric pieces that will make up the lower part of the back (which will be attached to the main back part). Remember to fold in and hem the side facing the spine. In the same manner fold it and hem both sides of the middle piece. Attach the side pieces to the main piece. Now attach this lower part to the upper part of the jackets back. Sew the jacket together.
Riding jackets with this solution is sometimes somewhat longer than ordinary riding jackets. If so, the middle part, overlapping the slits, can be put over the back edge of the saddle, preventing rainwater from running down the back into the seating area. You can use this feature in the same manner, if you for example use an electric scooter, to prevent rainwater running down and making the seat wet. The slits in this solution is positioned a bit further back and overlapping, which will make the jacket sit a bit firmer around the hip area.
Try on ready made riding jackets
If you do not want to make your pattern you can visit one of the riding shops and try one of their specially designed riding jackets. Maybe this will be such a nice fit that you prefer to buy a jacket. We have for example seen a slightly longer riding jacket made of “oil cloth”. This had this type of slits.