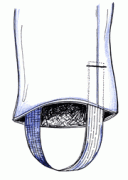
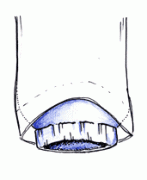
Recycling a garment into something else has its perks. One if them is that you can use ready-made features in the existing garment. Features that might not be so easy to create yourself. In this recycling project features of the sweater such as the rib knit band around the cuffs and waist will shape the hem of the skirt. This makes a nice hemline, one you could not make yourself as it is integrated in the fabric. Use a thinly knitted wool or cotton sweater with finishes in nice rib knit. You can of course use other details, for example a buttoned neck opening to form a slit.
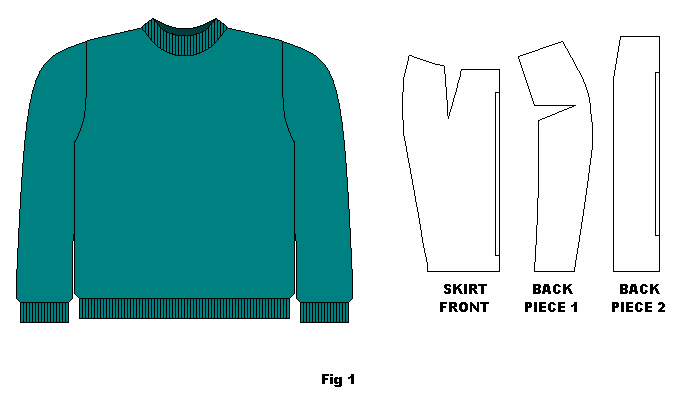
You will need the SKIRT pattern pieces available under the pattern section of our website. You will also need a sweater that is large enough to accommodate the pieces (try to buy/find as big as you can). Remember you have to add seam allowance at the seams between the pieces and top seam. You also need to adapt the length of the pattern as this skirt does not require seam allowance on the hems (fig. 1).
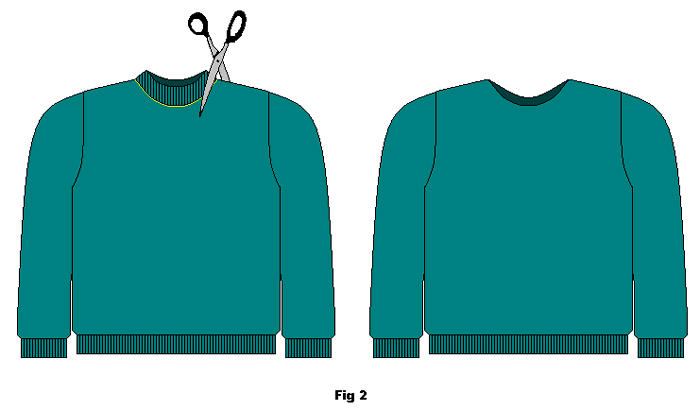
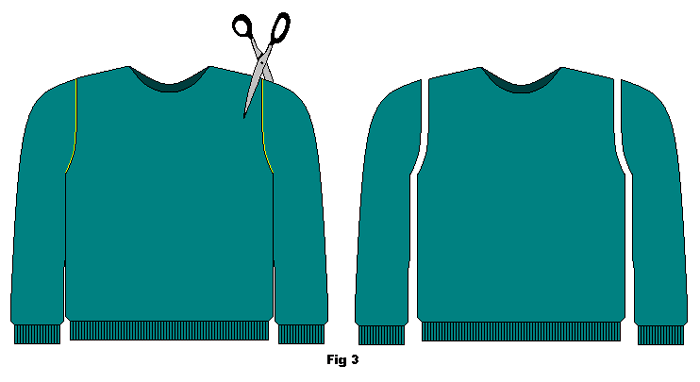
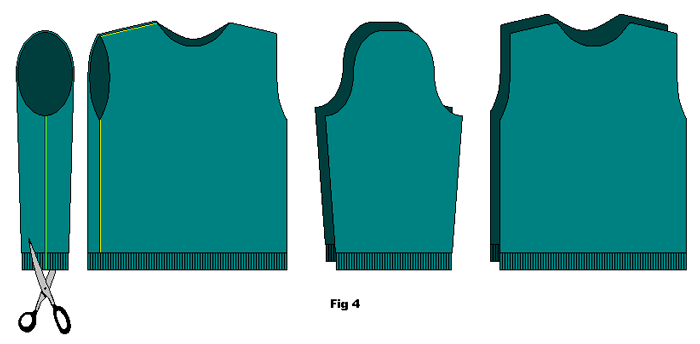
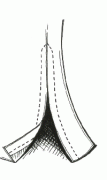
Begin by removing the neck band and the sleeves. Then, cut open the body and sleeves of the sweater at the seams. Try to cut as close to the seams as possible so you spare as much fabric as you can (fig. 2, 3 and 4).
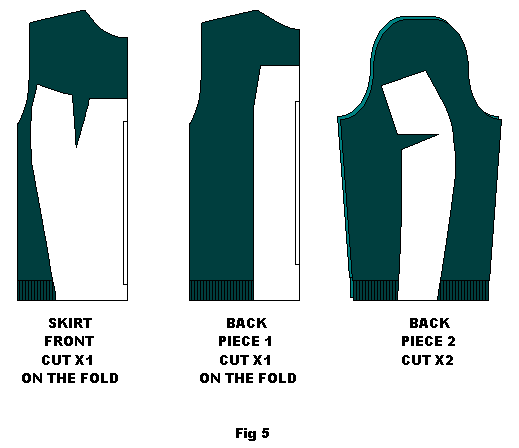
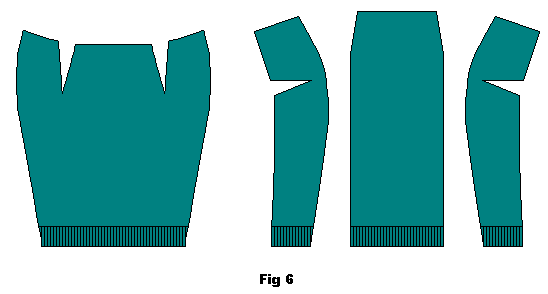
Lay out the pattern pieces on the fabric in the best way that fits the pieces. This is just an example but make sure you put the pattern pieces along the grain line Line up the hem with the edge of the rib knit bands. Pin and cut out the pieces.(fig. 5 and 6).
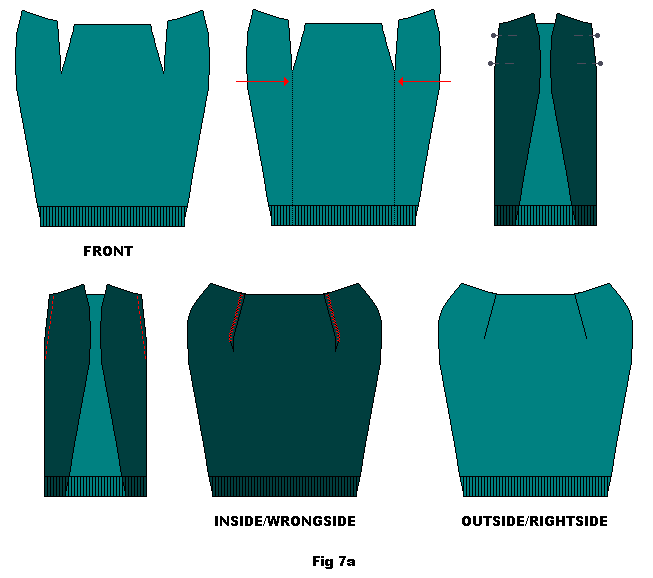
Sew the tucks.
Fold, pin and sew the tucks on the front piece of skirt. Remember to extend the line of stitching beyond the tuck. Overlock or zig-zag the raw edges. Press seams towards the outside (fig. 7a and 7b).
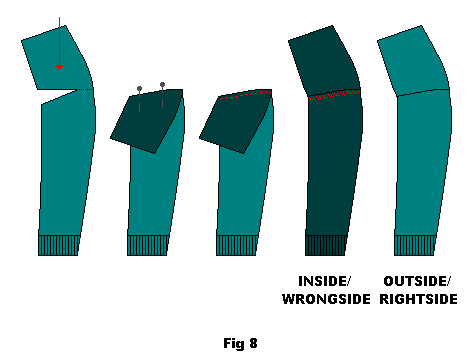
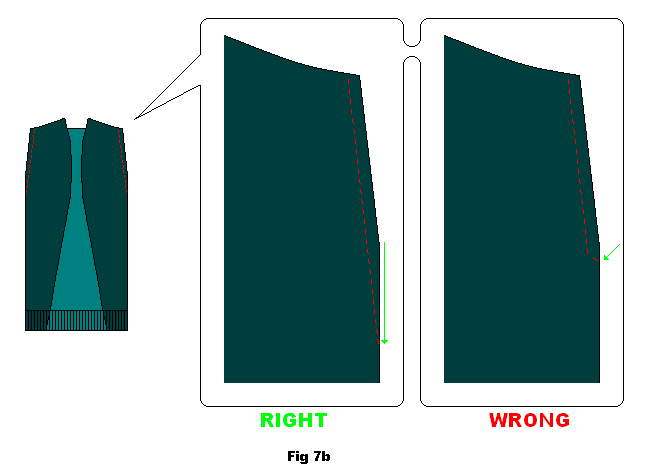 Fold, pin and sew the tucks on the side of back parts of the skirt. Remember to extend the line of stitching beyond the tuck. Overlock or zig-zag the raw edges. Press seams down (fig. 8).
Sew parts together
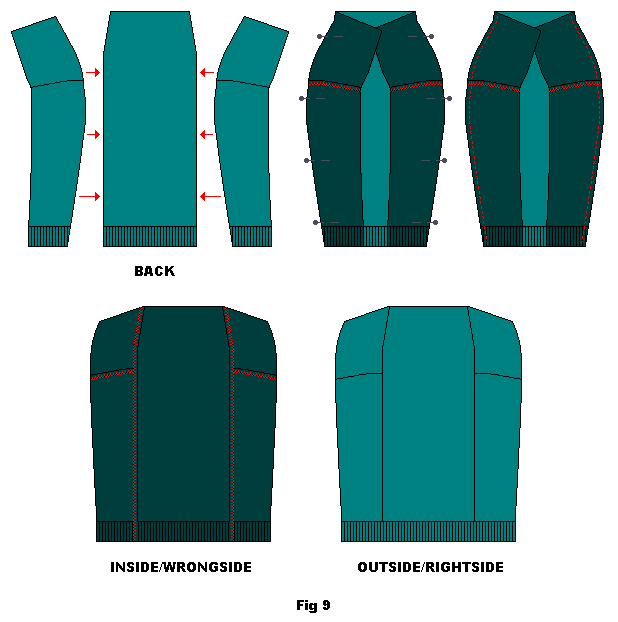
Pin and sew the back side pieces to the centre back piece. Overlock or zig-zag the raw edges. Press seams towards the outside (fig. 9).
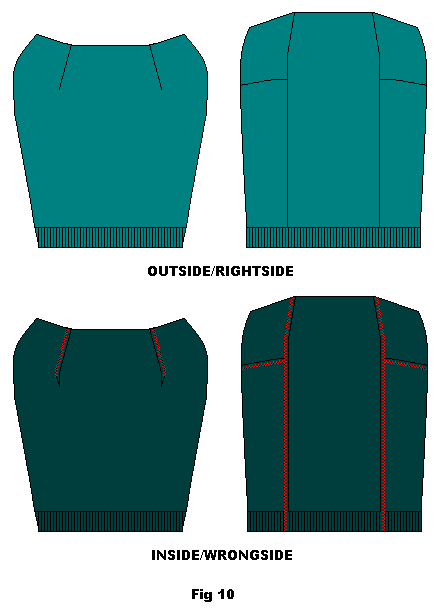
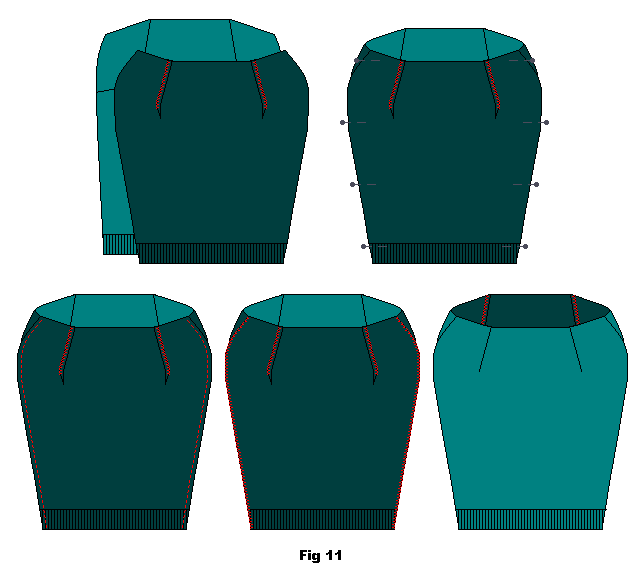
Lay the skirt front onto the back piece with right sides facing each other. Pin and sew the edges. Overlock or zig-zag the raw edges. Press seams towards the back side (fig. 10 and 11).
Sew the waistband
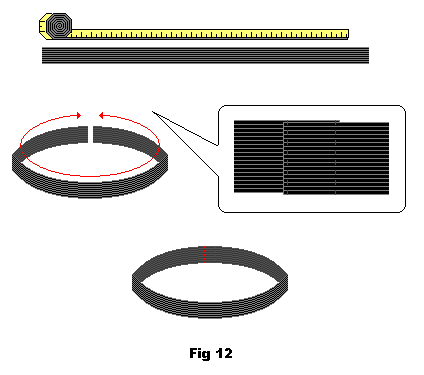
Measure and cut the elastic according to your waist measurements (add a little extra for sewing together). Overlap the edges a few cm and sew the elastic into a loop. Zig-zag the edges (fig. 12).
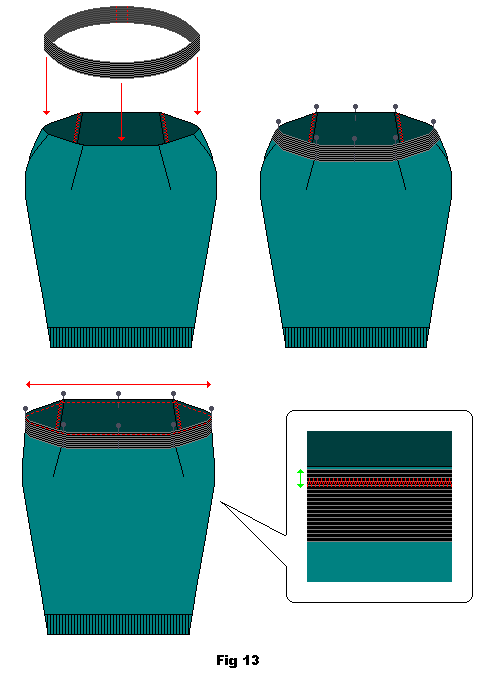
Place the elastic over the outside of skirt at the waist and pin it evenly in place. Sew the elastic to the skirt about 1 cm in from the upper edge. Stretch out the elastic and skirt a little while you are sewing. Use zig-zag stitch as it stretches more easily (fig.13).
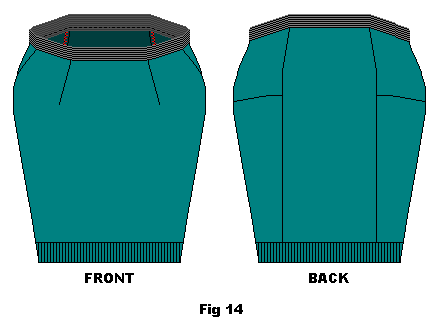
Press the elastic up so that it forms the waist band. Skirt is complete (fig. 14).

