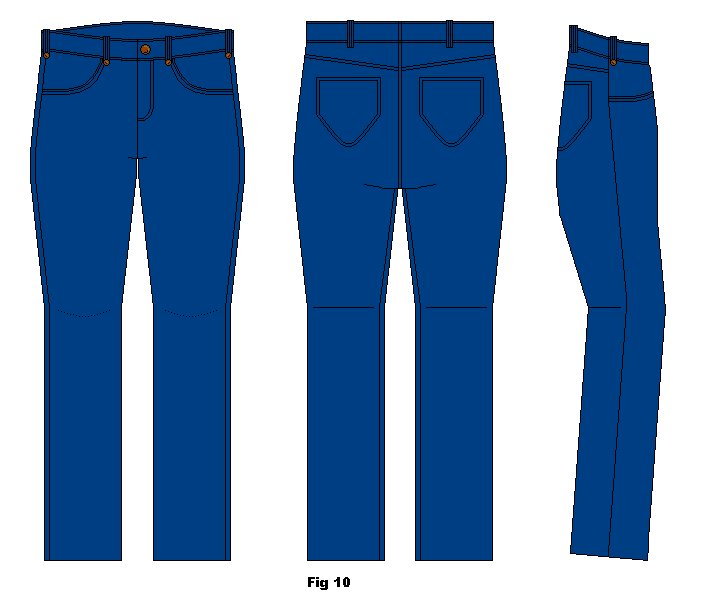
NOTE! Please read “IMPORTANT to read before adapting pants” to decide what type of back suits you best.
This pattern is used to make adaptions for a “NORMAL WAIST BACK” for both jeans and pants. The adaptation removes the back part of the waistband completely.
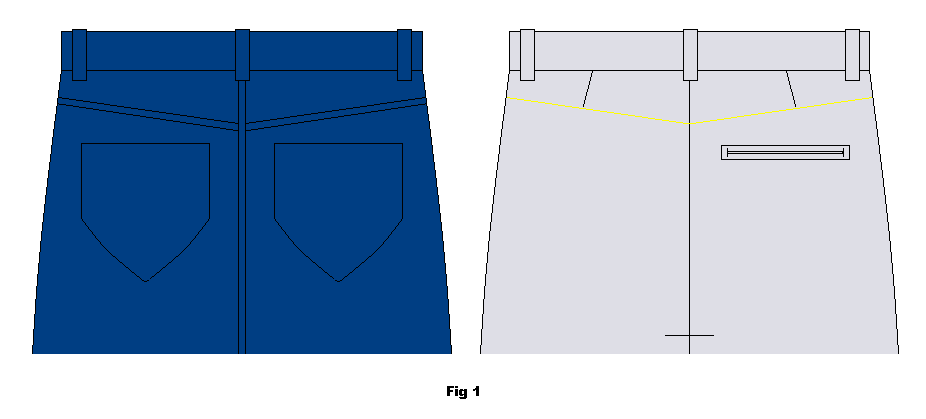
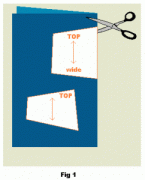
You shape the adaptation pattern after the top part of the back of the jeans/pants. You use the existing triangular piece in jeans and mark a piece of the same shape and size in pants (fig.1).
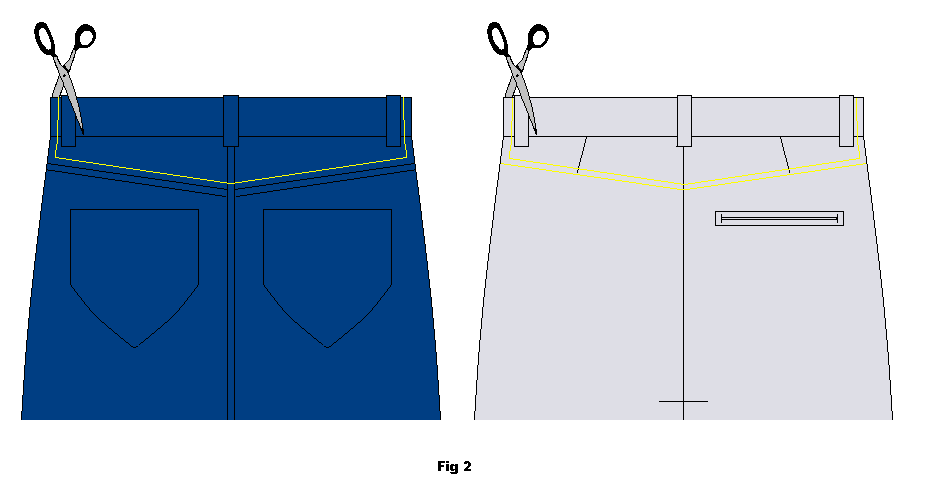
Mark the piece you are going to cut out. NOTE that you will have to include 1 cm seam allowance in the final marking if the cut out. This makes the cut out section smaller (fig. 2).
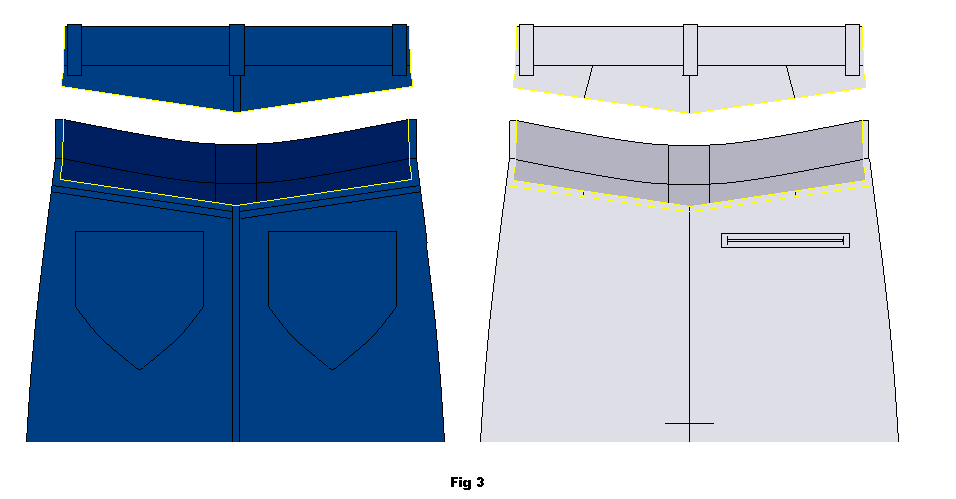
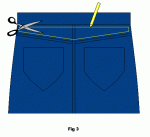
Remove the back section or the pants/jeans including waistband included leaving 1 cm seam allowance all around (fig. 3).
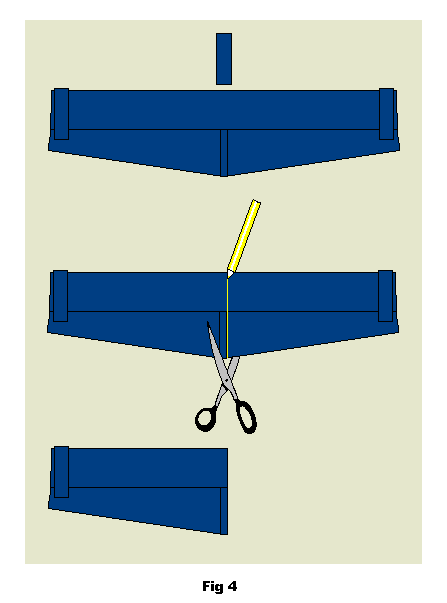
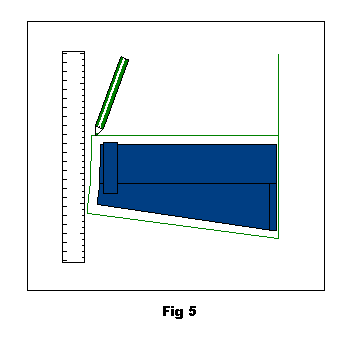
Cut the removed triangular piece in half. Remove the middle belt loop (fig. 4) lace piece on fabric, (use cheap cotton). Mark out the shape of the piece – adding 1cm onto the top, bottom and sides but not the middle – on the cottton fabric. Draw a middle line extending upwards on the cotton fabric. Follow the centre mark of the cut out fabric (fig. 5).
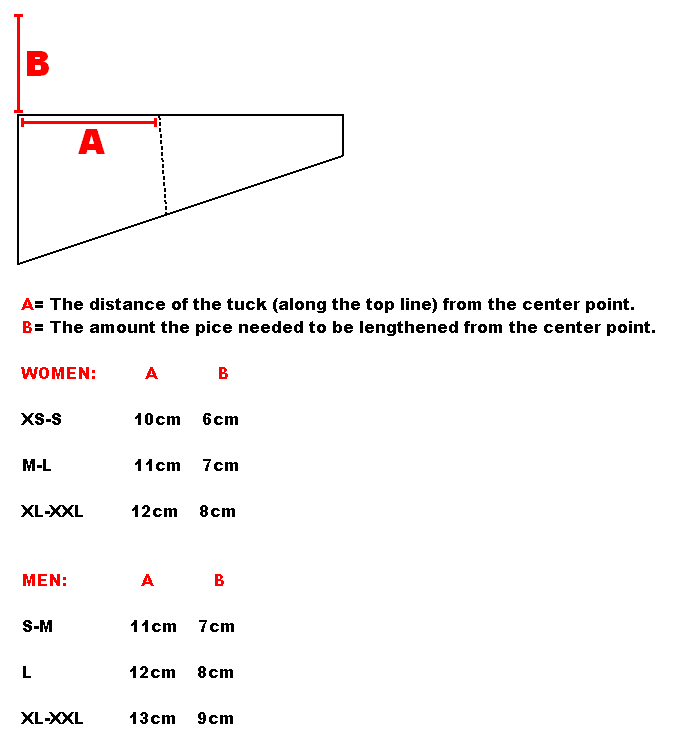
Consult the measurement sheet for placement and size of alterations.
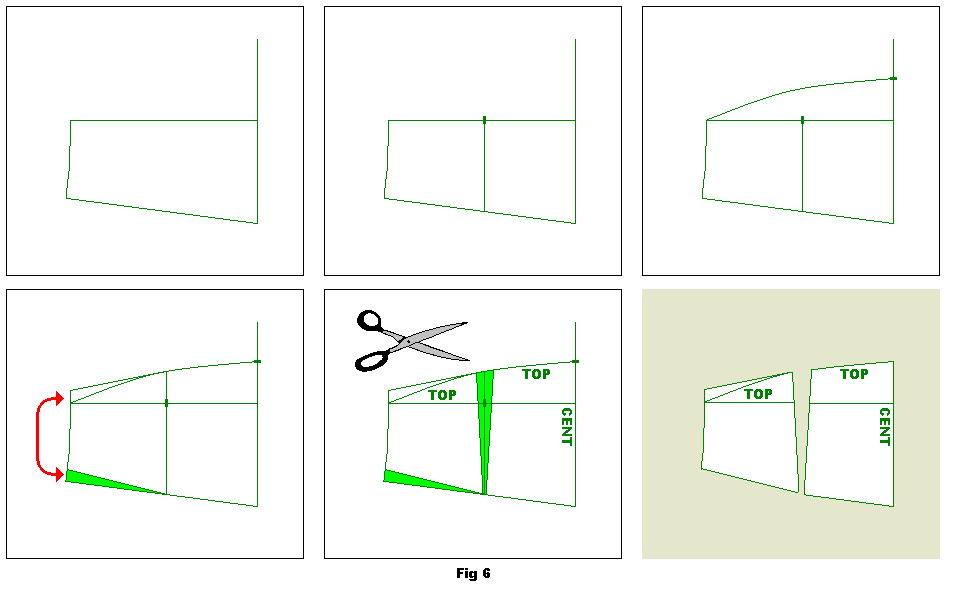
Draw tuck marks according to the placement given by the measurement sheet. Also, according to the measurments, draw a rounded top line as shown in the top three pictures below (fig. 6).
Bottom (fig. 6 ) left picture below shows how to create the horisontal tuck needed to alter the angle of the pants. Create this side (horisontal) tuck by marking a segment 1 cm wide at bottom of pattern piece side tapering down to nothing at the mark of the tuck point (bottom of the drawn vertical tuck mark). This will be cut off. Compensate for this horisontal tuck by adding 1 cm at the top side of the pattern piece tapering down into nothing at the vertical tuck (top of the drawn vertical tuck mark). Reshape the upper curve.
Create he vertical tuck by marking a segment 1 cm wide and tapering down to nothing at the end of he tuck line. The marked vertical tuck line will be the center for this as shown in the bottom middle picture above (fig. 6). Cut out the pieces as shown in the bottom right picture above.
As shown below (fig. 7), lay the pattern pieces on a new piece of cotton and mark the seam allowance by adding 1 cm along all edges except the centre line (the centre piece will be cut on the fold of the fabric). Mark the fabric grain and label the pieces. Cut out.
These are your final pattern pieces for back piece with removed waistband (NORMAL).

