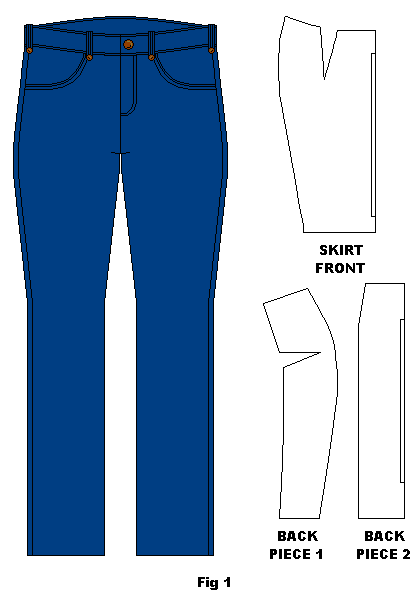
These instructions show you how to make an adapted skirt from a pair of old jeans. For this you will need our adapted pattern for a non-stretch skirt. Remember that our patterns are general so, if you have not used our skirt pattern before, remember to make a sample garment and use this to individualise your own pattern before using these instructions.
You will find the skirt pattern here.
If this is the first time you are using our skirt pattern, read the instructions here.
If you need guidance when cutting the fabric read the instructions for this here.
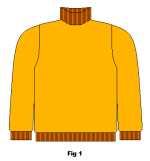
It is best to use a pair of jeans at least one size larger than your intended skirt size. If you are buying second hand this will not be a problem. If you are using an old pair of your own you will probably get away with your regular size too. It is just preferable to have a little extra fabric to work with (fig. 1).
You also need some lining fabric, preferably something non-slip like cotton. Lining the skirt front is optional but you will at least need some lining fabric for the facing on the back waistband. If you are only lining the waistband you could also use cut offs from the excess denim.
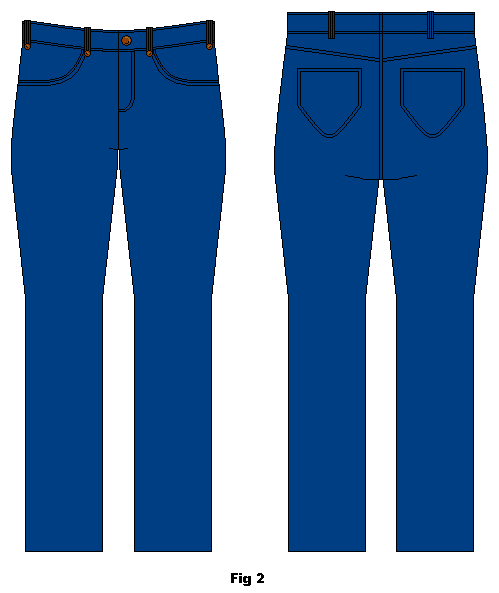
Begin by unpicking the side seams of the jeans. Try to reserve as much fabric as possible. so unpick the seams. Do not cut!
NOTE: If you cannot find a matching thick thread for the top stitch unpick the seam extra carefully and save the thread for later use (fig. 2).
FRONT PART
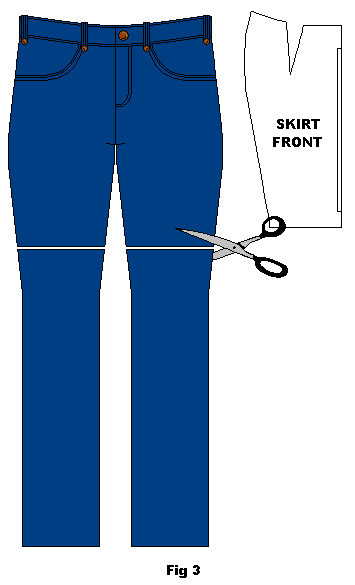
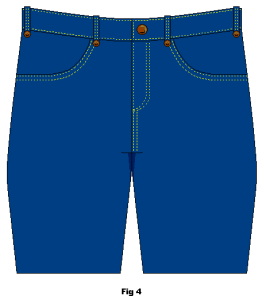
Cut the legs off the front part of the jeans. Keep the length around 10 cm longer than the length of the skirt front pattern. Use side seam measures. (fig. 3 & 4).
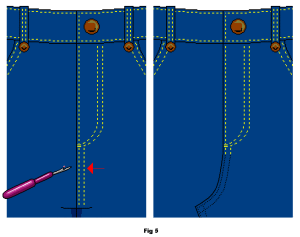
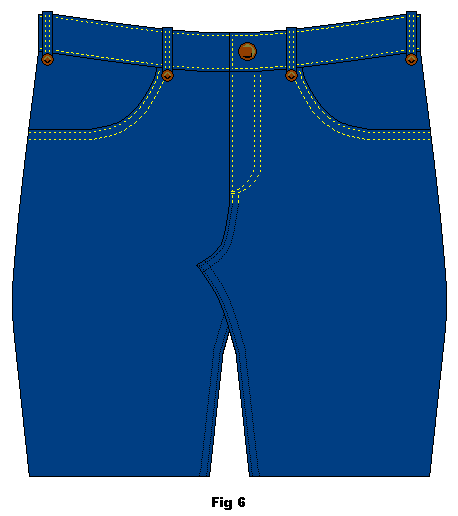
Carefully unpick the front crotch seam up to the fly line. Press the pieces flat with the edges pressed under so that they overlap one another (fig. 5 & 6).
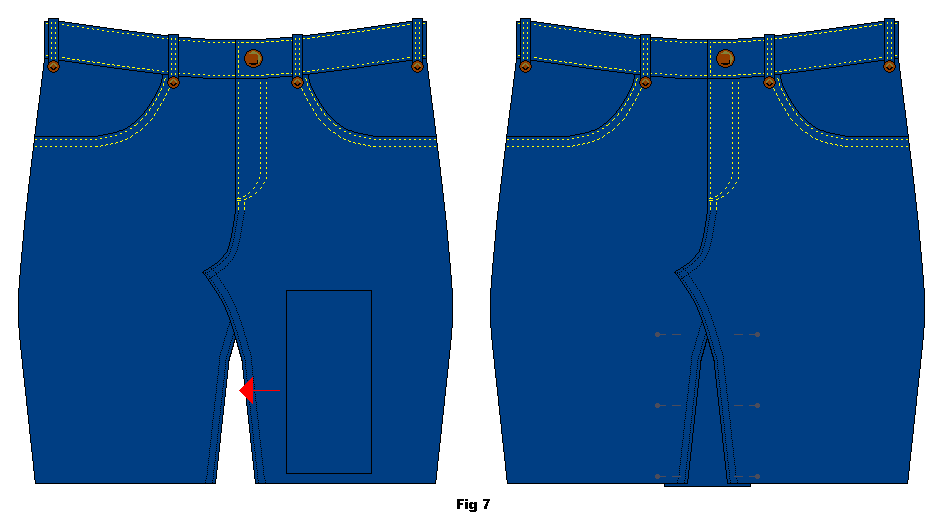
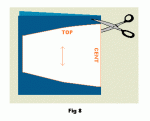
Use a piece of denim from the lower leg to cut a rectangle of fabric that will fit the gap between the legs (illustration to the left below) and position it behind this covering the gap (fig. 7).
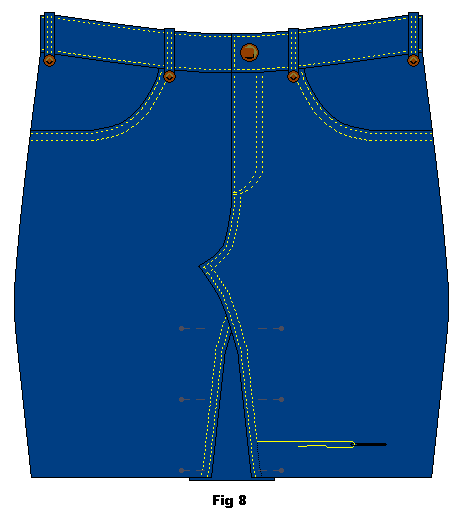
Sew the extra piece into place using a matching thread, or thread harvested from the unpicking of the seams. Follow the lines from the unpicked crotch line. It is usually easier to do this by hand (fig. 8).
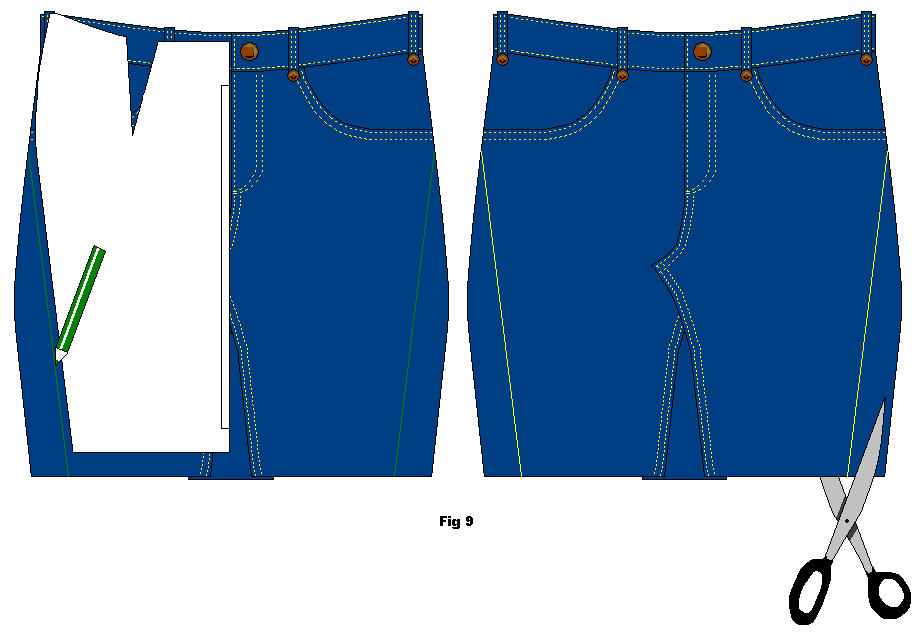
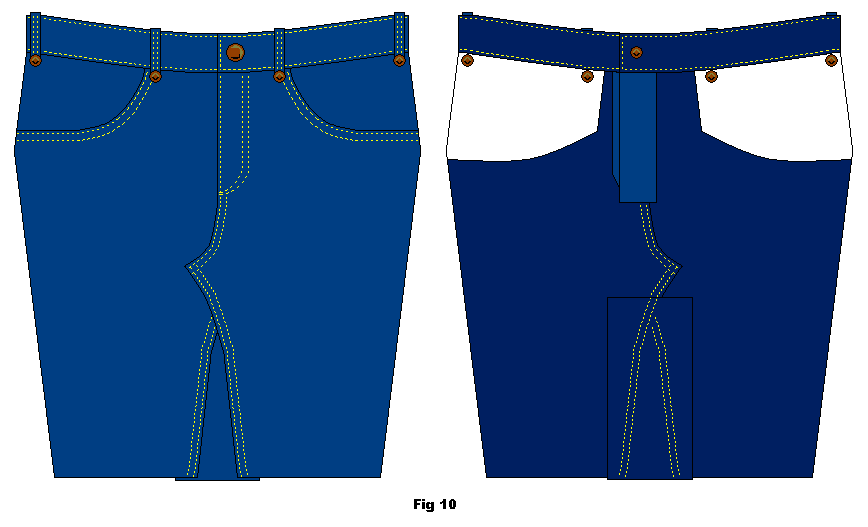
Lay the skirt pattern over the pants and follow the lines as closely as you can. It may not fit perfectly so just keep to the pattern as best you can. Remember to add seam allowance before cutting out the skirt front (fig. 9 & 10).
LINING THE FRONT (OPTIONAL)
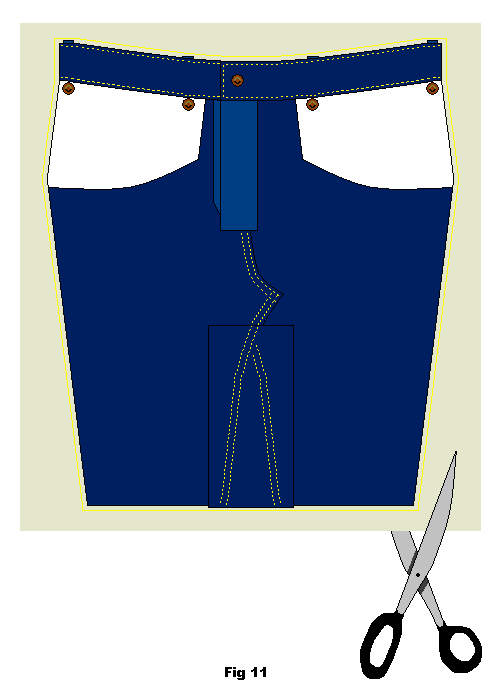
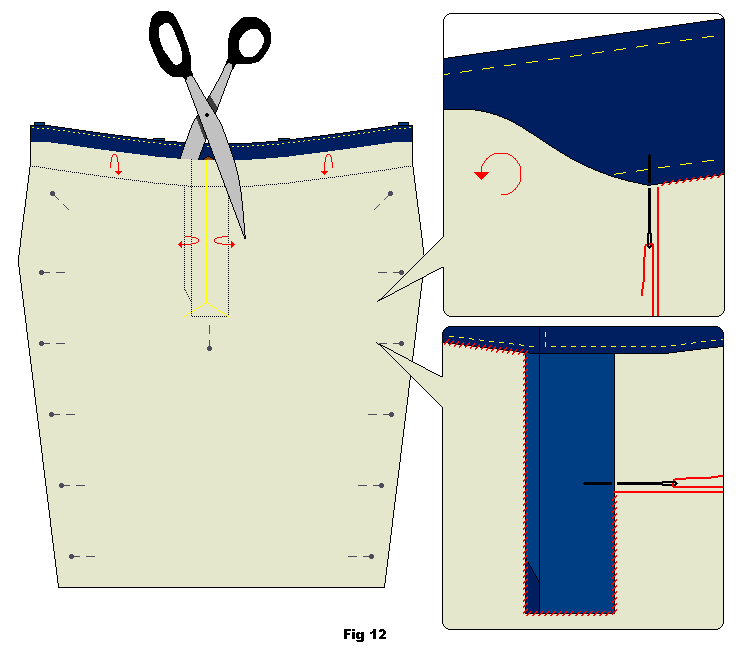
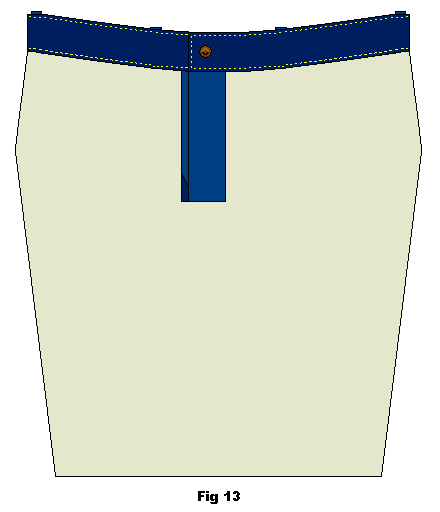
Lay the “skirt front” onto your lining fabric and roughly cut the lining fabric after this. Pin lining fabric to the inside of the skirt. Cut down along the fly and fold the seams under. Fold fabric under at the waist band also. Hand sew into place (fig. 11, 12 & 13).
BACK
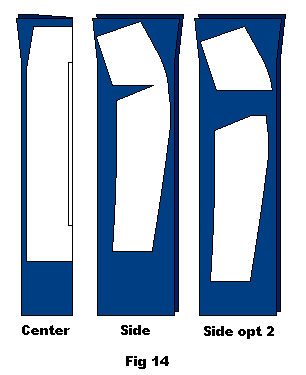
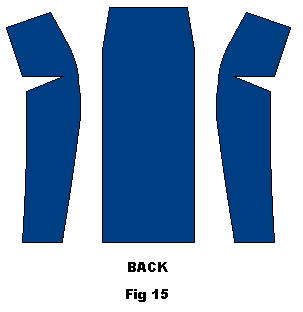
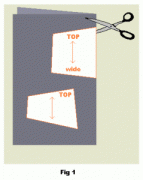
Use off cut pieces from the rest of the jeans and cut the back pattern pieces (2 side pieces and 1 center back piece cut on the fold). You may need to get creative with your lay out, depending on how much excess fabric you have. If you are struggling to have enough fabric, the pattern pieces can be cut into smaller parts and sewn together (see illustration to the right below). Alternatively you could cut the center piece out of different fabric as it is unseen anyway (fig. 14 & 15).
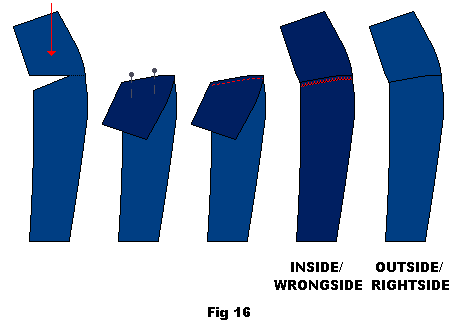
Sew the tuck on the side back pieces. Overlock or zig-zag the raw edge. Press the seams down (fig. 16).
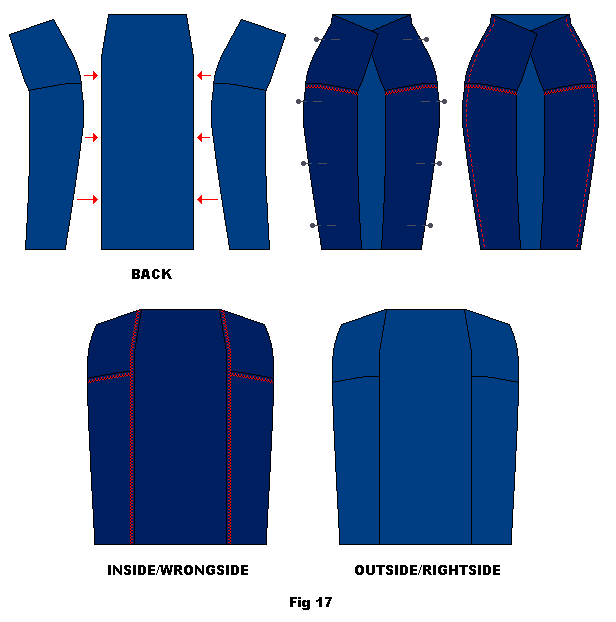
Attach the side pieces to the center back piece and overlock/zig-zag the raw edges. Press the seams out flat (fig. 17).
BACK FACING
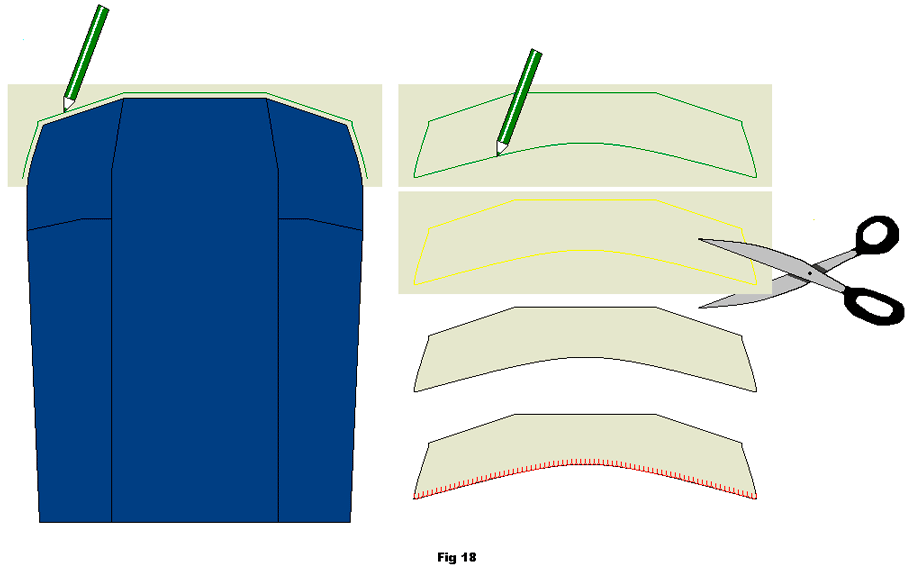
Lay the skirt back on the lining fabric (or denim) and mark the edges of the top hem. Roughly follow the shape of the rounded curve of top hem to create a rounded facing piece. Cut out. Overlock/zig-zag the lower edge (fig. 18).
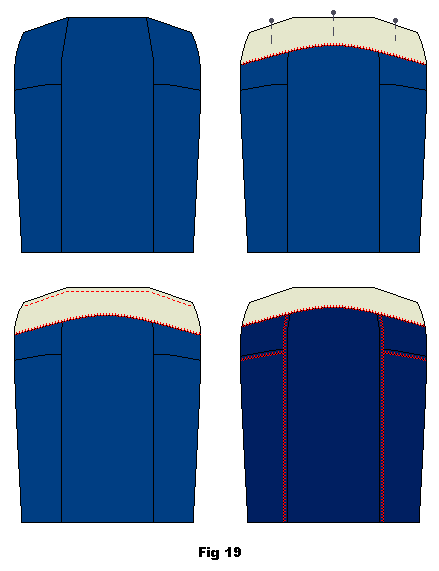
Pin the facing on the outside of the skirt back and sew in place along the top line. Turn the facing to the inside and press the edge firmly (fig. 19).
ATTACHING THE FRONT AND BACK
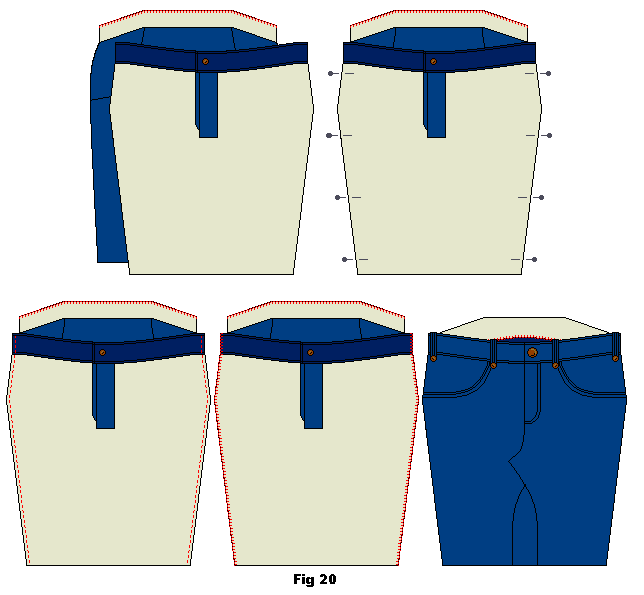
Lay the front and back pieces together right sides (outsides) towards each other. Back facing shall be turned up. Pin the side edges together then sew together. Overlock or zig-zag the raw edges. Turn the facing back down (fig. 20).
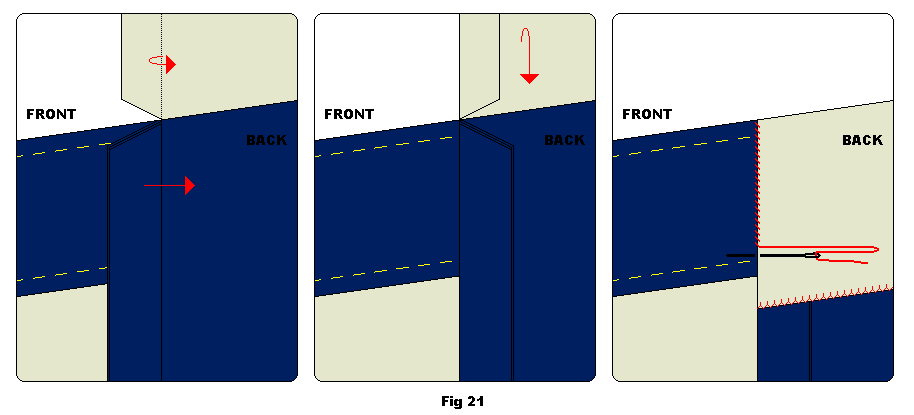
Press the side seams toward the back. Fold in the edge of the facing over them. Hand sew the facing to the seam line to keep it all looking neat (fig. 21).
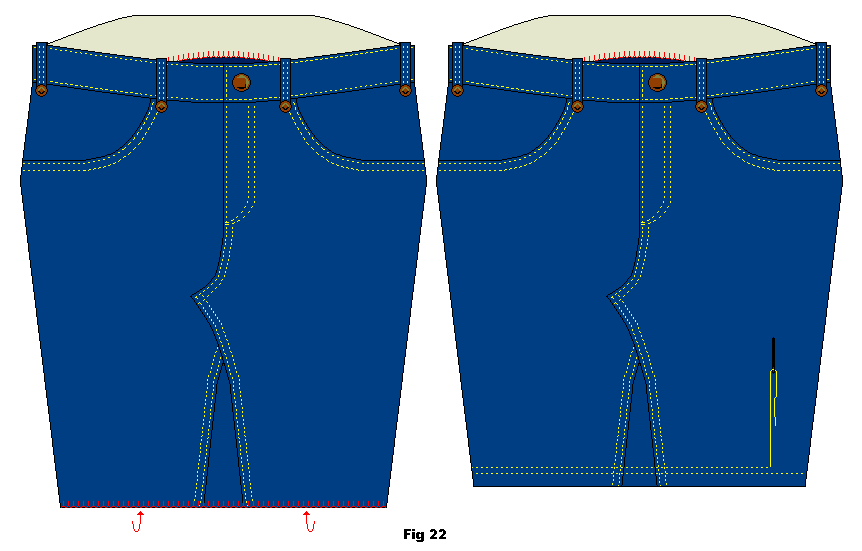
Overlock or zig-zag the hem. Fold up the hem line to the desired length, pin and sew (fig. 22).
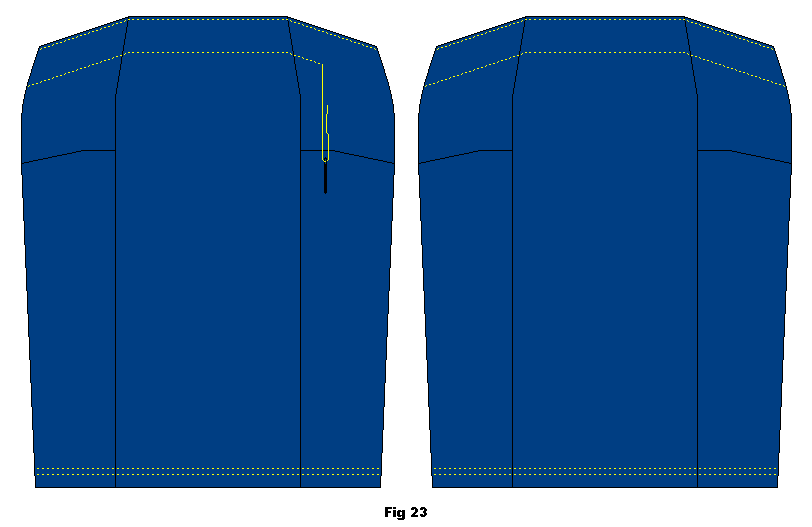
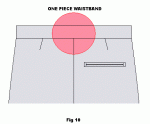
Using the shape of the waistband on the front as a guide, sew the facing down with approximately the same distance between the lines of stitching (fig. 23).
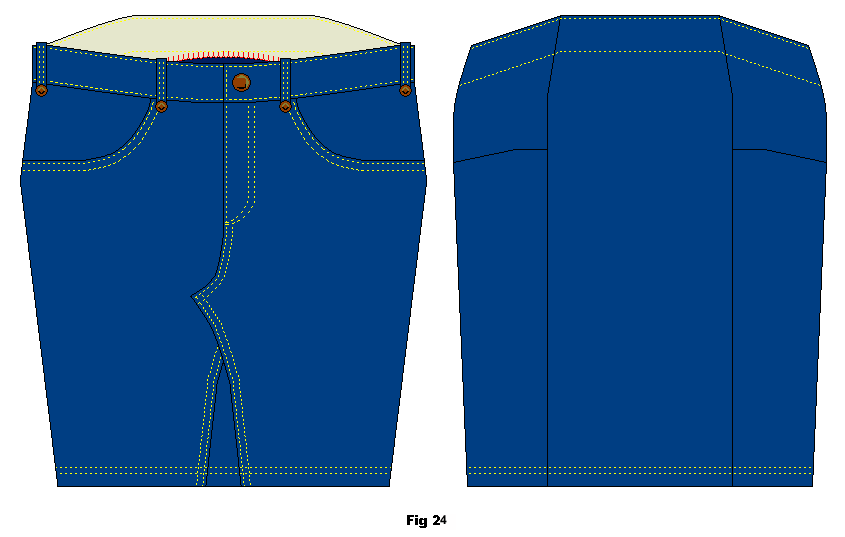
Finished skirt (fig. 24).

