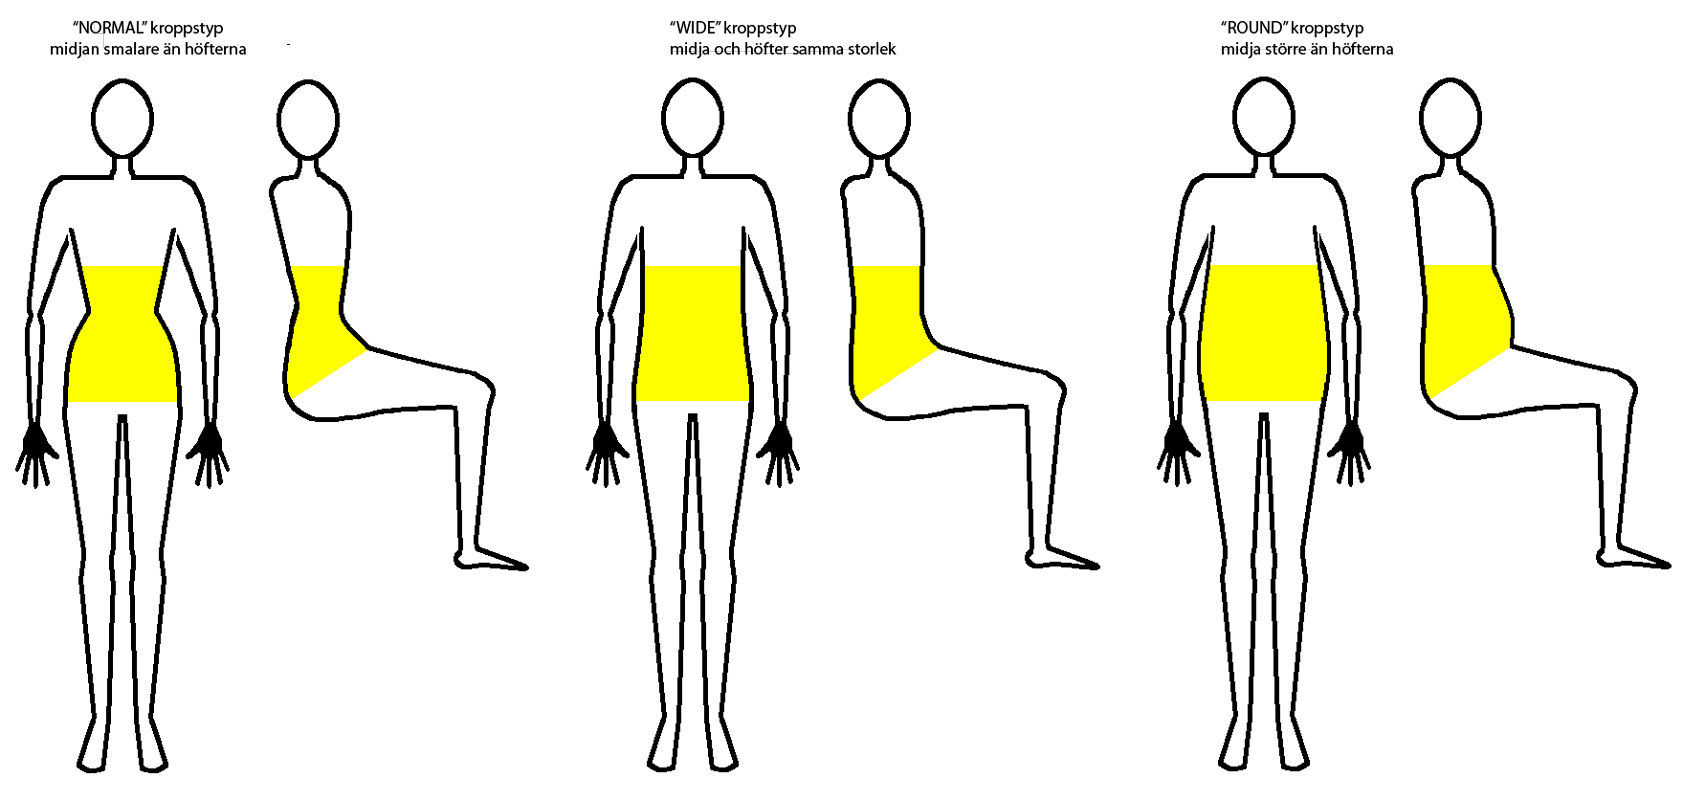
NOTE! Please read “IMPORTANT to read before adapting shirts/tops” to decide what type of back suits you best. Also note that these instructions can be followed for SHIRTS and some other collared TOPS and JACKETS.
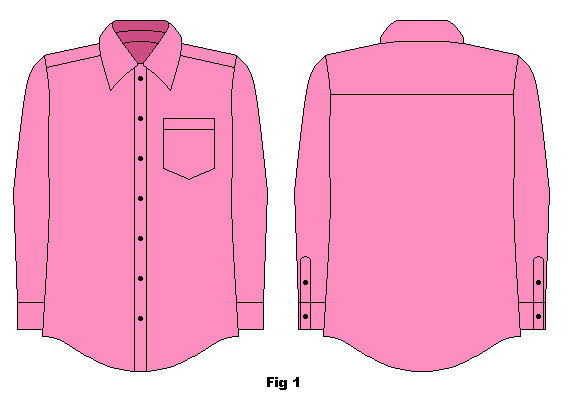
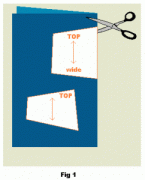
You will need a shirt or other collared top (slightly looser fit) for this as well as some non-stretch cotton for pattern making and some fabric in a matching colour for the actual adaption/replacement piece (fig. 1).
Make a pattern from the yoke
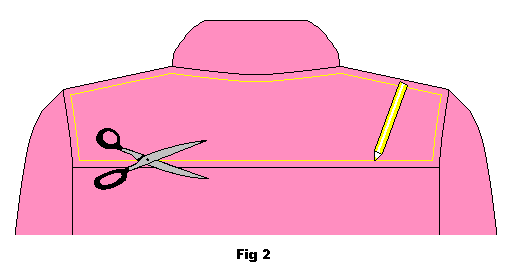
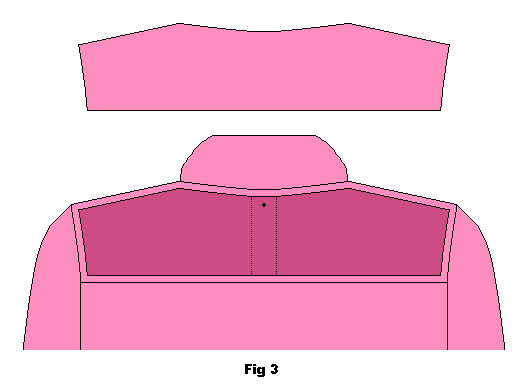
Mark and then cut the inner yoke piece away using the seams surrounding the back yoke as a guide and give yourself a 1 cm allowance. Cut carefully as you will use this piece as a base for your pattern (fig. 2 and 3).
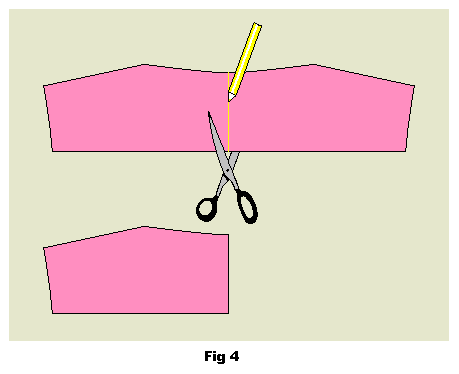
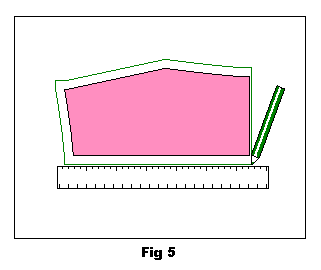
Cut the removed shirt (yoke) piece in half. Place one of the halves on fabric (use cheap cotton) and redraw the piece adding 1 cm to the top, bottom and sides of it. Do not add to the middle of the piece (center) (fig. 4 and 5).
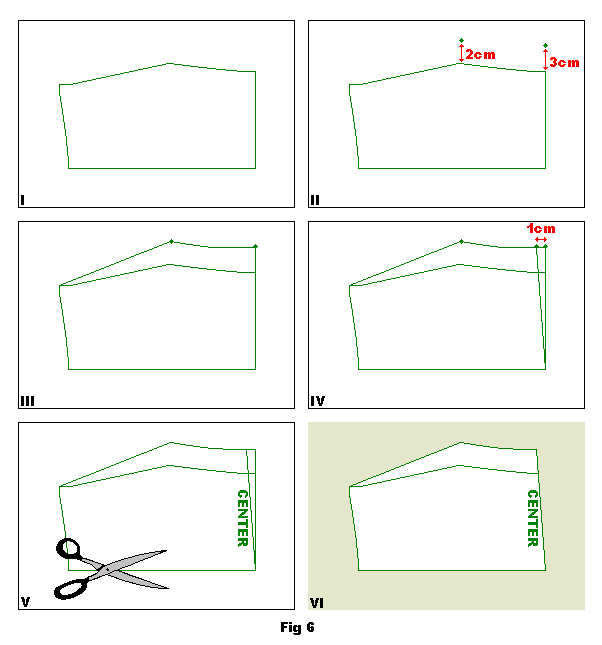
Using a ruler make a mark approximately 2 cm up from the shoulder point and 3 cm up from the mid neck point on the center fold. Use the neck and shoulder points on the original piece as a guide but measure from the redrawn line. This is an estimate for a medium size shirt. For large to very large size shirt you may want to add another extra 0,5 to 1 cm. For smaller sizes you may want to use 0,5 cm less. See illustration (fig. 6) below image I and II.
Use the original redrawn lines as a guide and drew new line along the top connecting the points (fig. 6 image III).
Mark a point 1 cm in from the top of the new mid neck point (or 0.5 for smaller size’s). Use a ruler and draw angled line from the bottom mid point. This is your new centre fold line (fig. 6 image IV).
Cut out the piece and lay on a new piece of cotton (fig. 6 image V and VI).
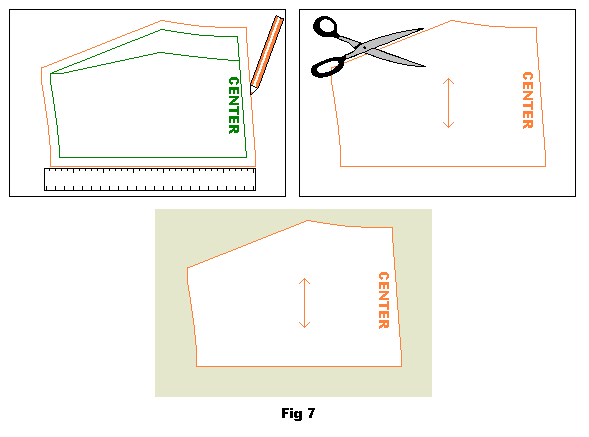
Add new seam allowance of 1 cm to the top, side, bottom and center line and cut out. This is now your pattern piece (fig. 7).
Make and attach replacement yoke piece
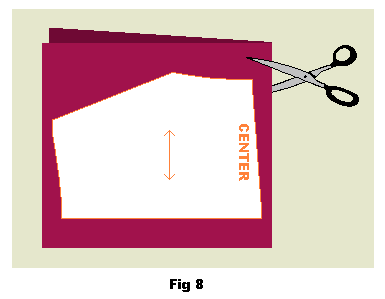
Lay your pattern piece on your matching fabric. Cut 2 pieces on the folded fabric (fig. 8).
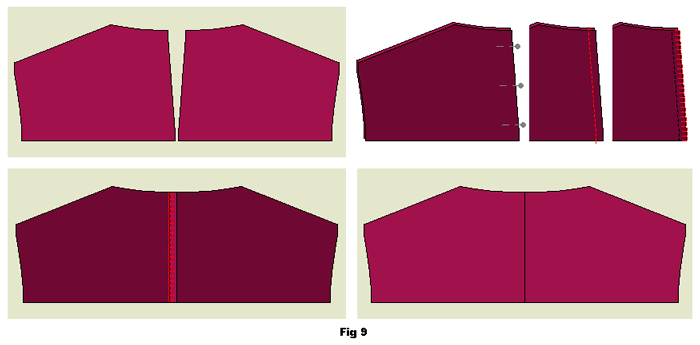
You now have 2 fabric pieces. Place these together with right sides facing each other. Pin in place, sew together and zig-zag or overlock the edge. Fold and press to one side (fig. 9).
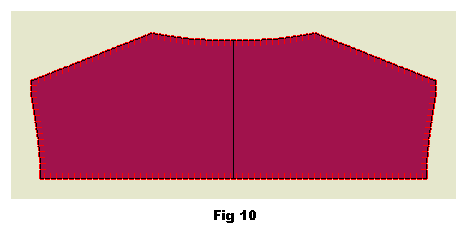
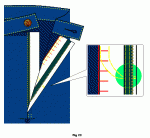
Overlock or zig-zag the edges of the piece to stop fraying (fig. 10).
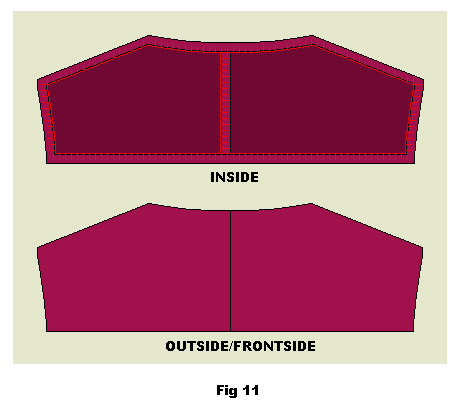
Fold all the edges under 1 cm and press well (fig. 11).
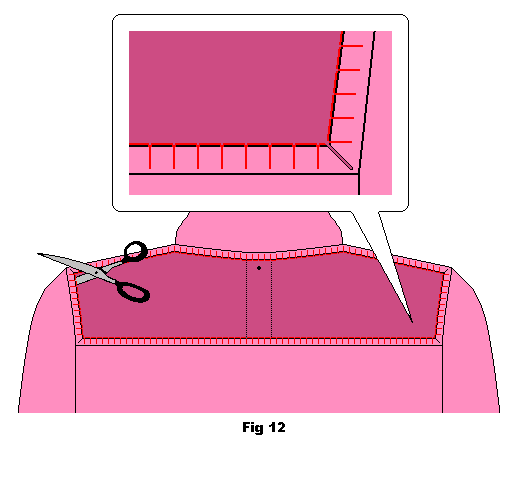
Zig-zag the raw edges of the shirt if possible. Cut small notches in the corners of the hole on the shirt. This allows for more movement of the original garment when inserting the new piece (fig. 12).
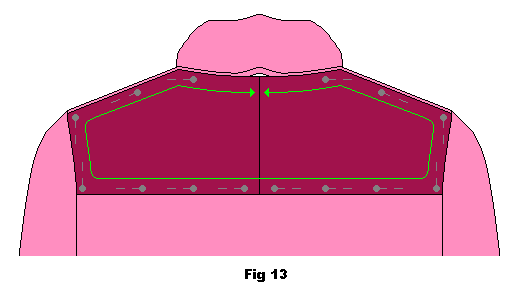
Begin to pin the new adapted piece to the shirt. Start at the bottom (at the middle point) and work your way out and until you reach the centre top. Fold the ends under when you get to them. This might take some manipulating and readjustment to fit. You will see some buckling and folding of the collar as the resized replacement piece is slightly smaller than the original yoke. You will now need to adapt the collar to fit (fig. 13).
Collar adaptation
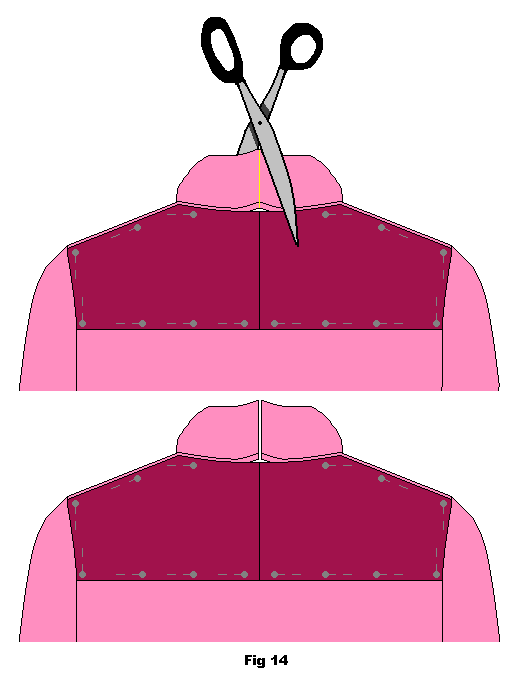
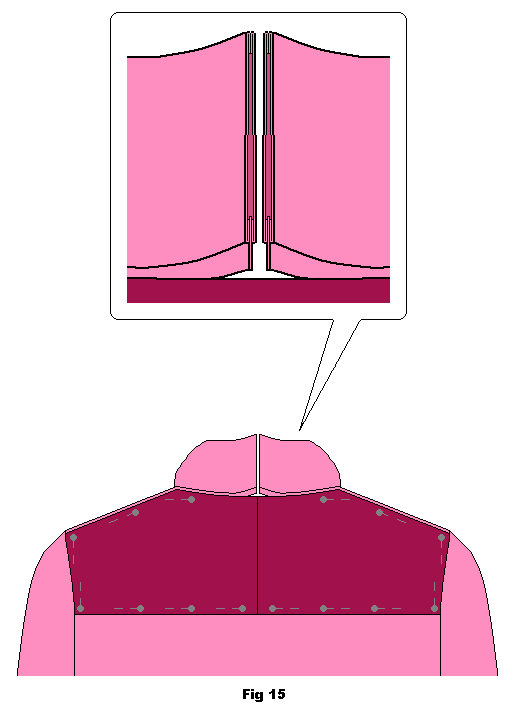
Cut the collar into 2 pieces at the center back (fig. 14 and 15).
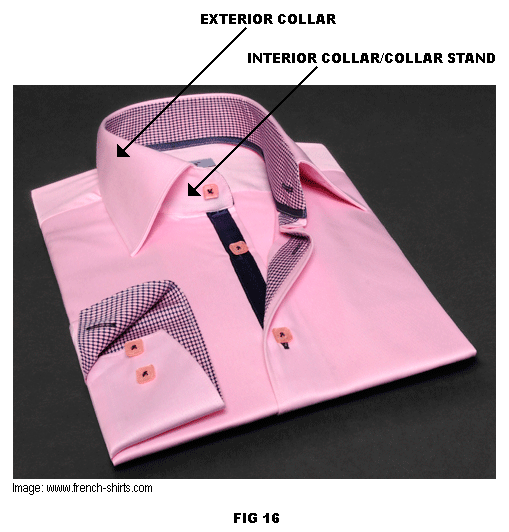
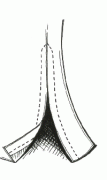
Familiarise yourself with the construction of the collar (fig. 16).
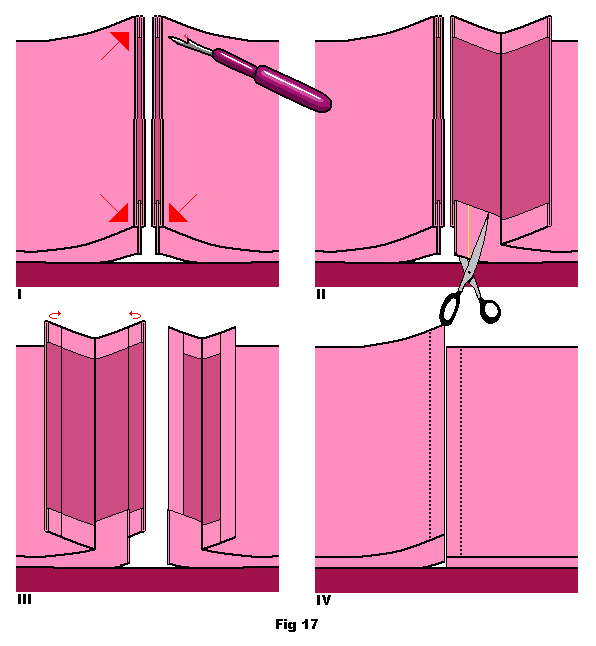
At the place where you cut the collar apart, unpick approximately 1 cm of the seams and top stitching at the top of the external collar as well as where the external and internal collars meet (fig. 17 image I).
Trim off approximately 1 cm of the internal collar (leaving the external as is) (fig. 17 image II).
Fold in the edges of the external collar on both sides so the folded edges meet at center back (fig. 17 image IV).
Hand sew the collar centre seams back together. Use small careful stitching in matching thread (fig. 18).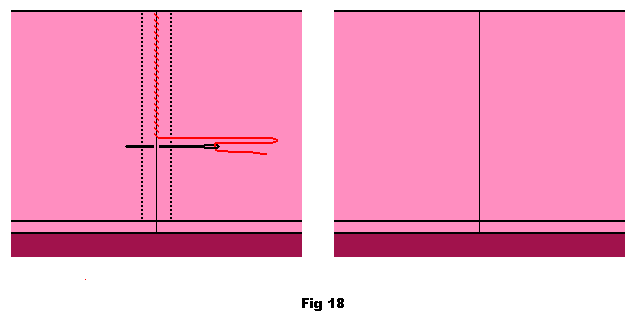
Finish adaptation of yoke
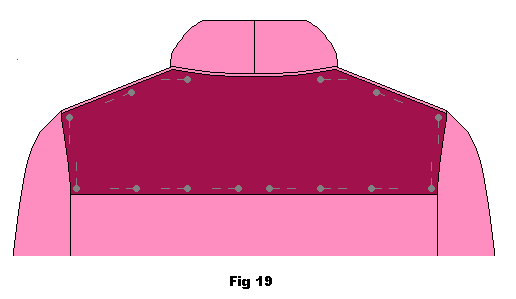
Finish pinning the replacement yoke piece into place (fig. 19).
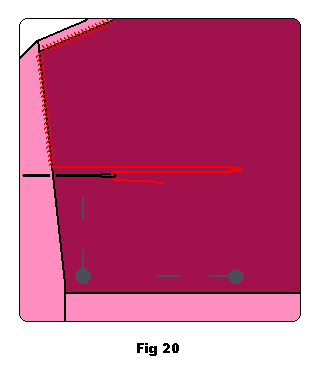
Hand sew replacement/adaptation piece into place (fig. 20).
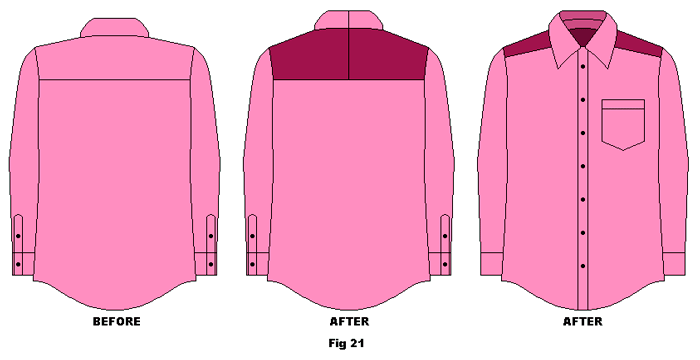
Finished example of the shirt – before and after adaptation (fig. 21).

