Note! You might need to make up for the lack of warmth around the backside by lining the back of the wheelchair or/and cover the cushion in fleece or other warming fabric/material.
You will need a snow skirt, cotton rib knit fabric in a matching colour, a plastic clip buckle and wide elastic in a matching width.
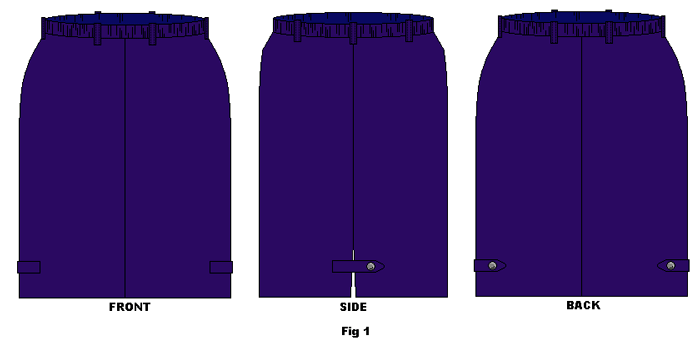
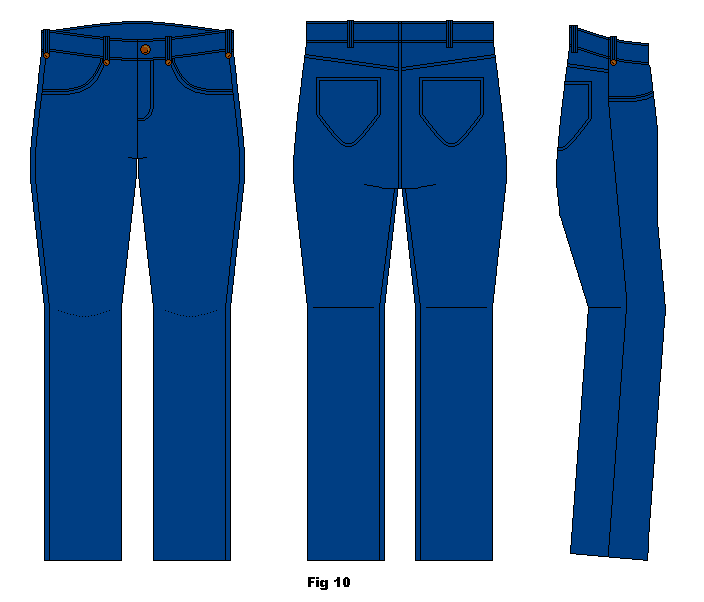
Basic snow skirt, front, side and back. NOTE: You require a skirt with belt loops (fig. 1).
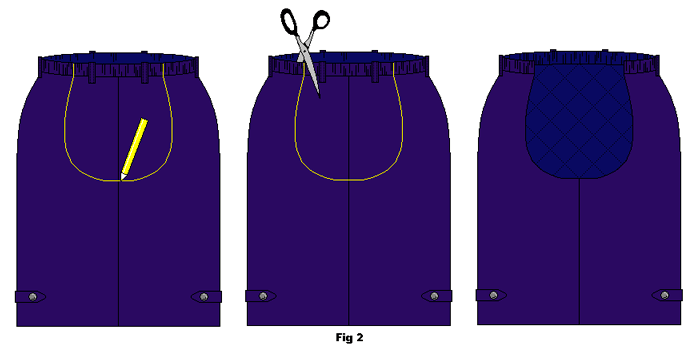
Draw up the lines for the cut-out in the back. There are no rules for this but you want to keep some of the width in the sides so leave a few cm of the back piece from the side seams. Go down medium low at the back. The cutout will look bigger once you put the edging on and it is much easier to fix a hole that is cut too small than one that is cut too large.
Once you are satisfied with the marking, you will want to pin the layers of fabric together beside the line to keep it all together. You can also sew a line of stitching on the skirt below the drawn line before you cut to keep the layers of fabric together. Cut away the marked area (fig. 2).
Facing
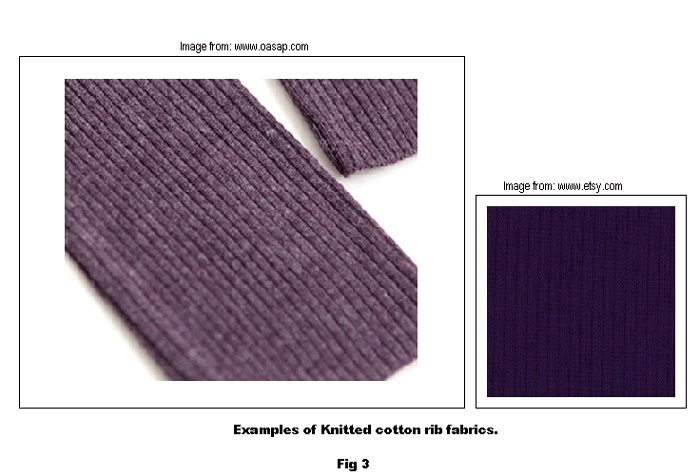
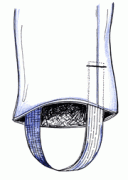
You will need some cotton knit rib fabric for this option. It is the type of fabric used in sleeve cuffs etc. on clothing. It is ribbed and stretchy and comes in a tube. You do not need much, ¼ of a meter should be enough with some to spare. The reason to use ribbing rather than regular fabric is that ribbing will pass around the curves easier due to the stretch quality of it (fig. 3).
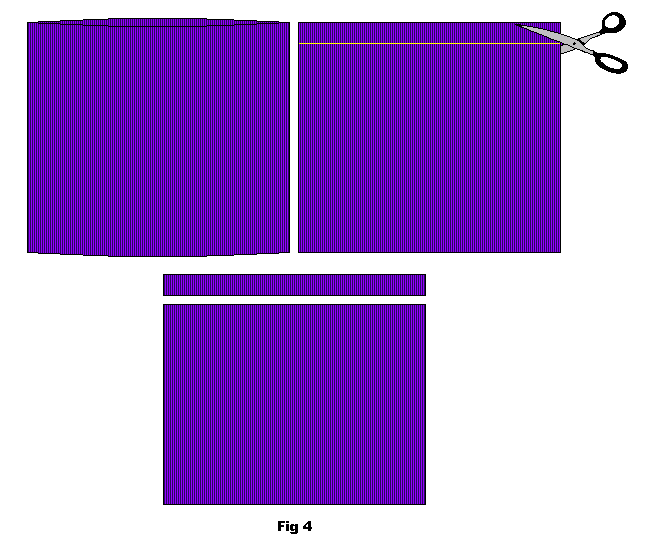
Mark out and cut 4 cm strips from your ribbed fabric. Depending on the length required and the width of the ribbing 1 strip should be enough but you might need more that you sew together (fig. 4).
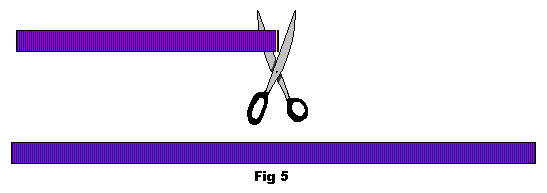
Cut the side of the strips so they can be opened flat (fig. 5).
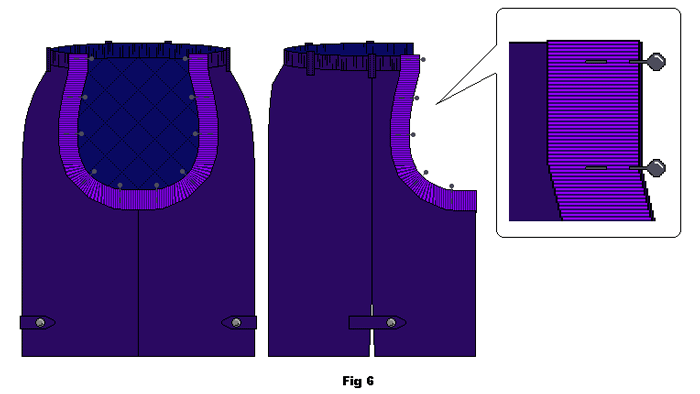
Pin the strip to the RIGHT side of the skirt (right side to right side) all around the edge. Make sure that the raw edge of the skirt is lined up with the raw edge of the strip (fig. 6).
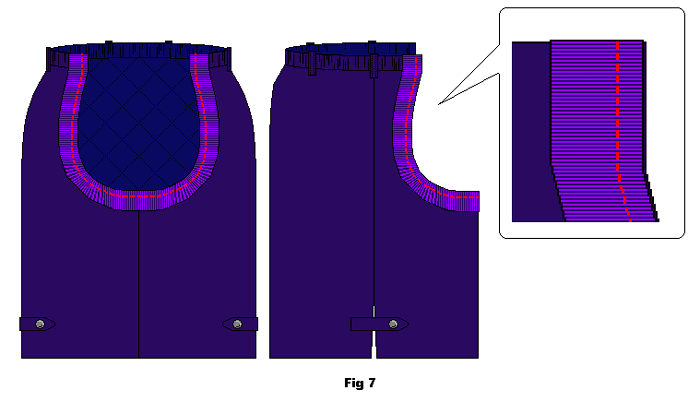
Sew around the entire edge with a seam allowance of about 0,5 cm on the edge side (fig. 7).
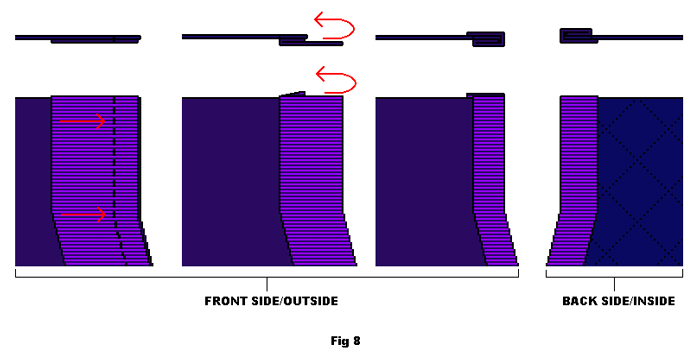
Once the strip is sewn into place fold it out then around the raw edge of the skirt and to the back side (fig. 8).
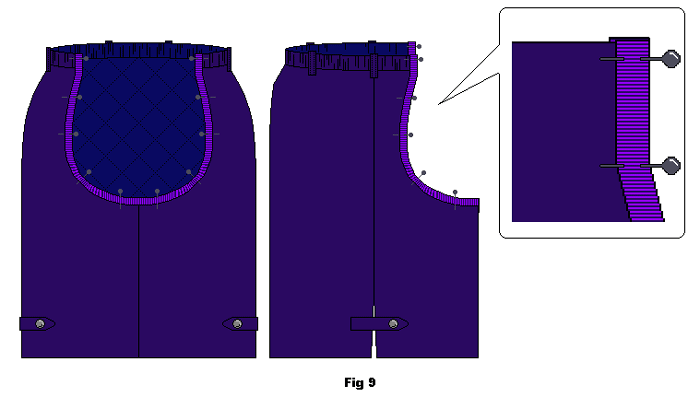
Pin the strip into place (fig. 9).
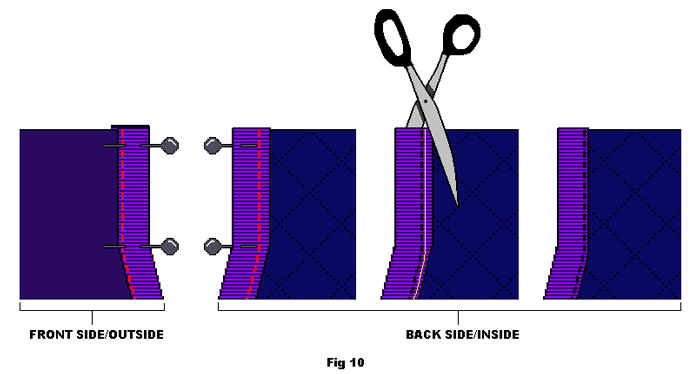
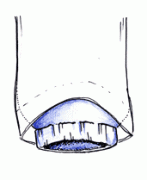
Sew into place from the front side. Sew along the join line of the rib knit edging. This should catch the edge of the rib knit on the back side. Once sewn into place you can remove any excess strip fabric from the back by cutting close to the stitch line (fig. 10). You do not need to overlock or zig-zag over edges on rib knit fabric.
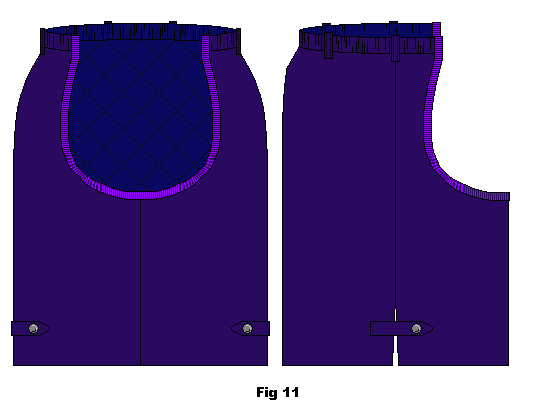
Example finished facing (fig. 11).
Clips and elastic – waistband
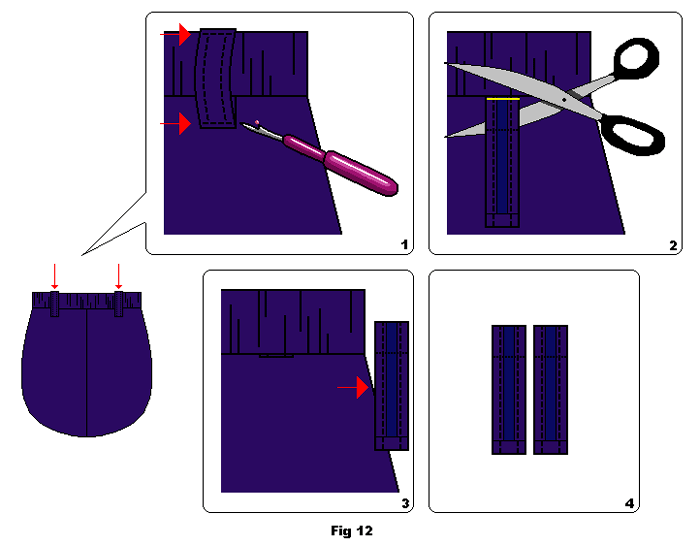
Depending on the placement of belt loops, you will probably need to add some extra ones to the back of the skirt for the elastic waistband to pass through. If you need more belt loops, carefully remove and use the ones available on the back piece that was cut away (fig. 12).
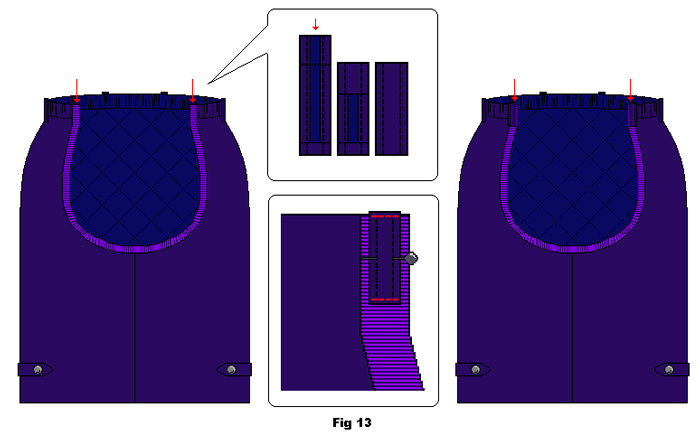
Pin and sew the belt loops into place on the back placing them right at the edge of the open back section (fig. 13).
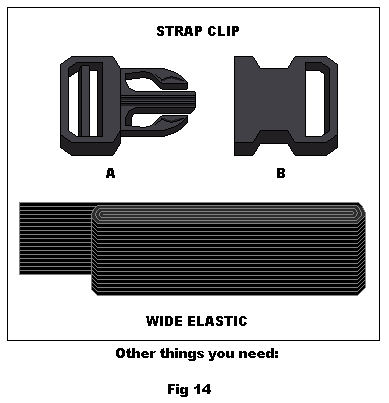
Examples of clips and wide elastic. Make sure the elastic width matches the clip when you buy it – and that they can pass through the belt loops of the skirt (fig. 14).
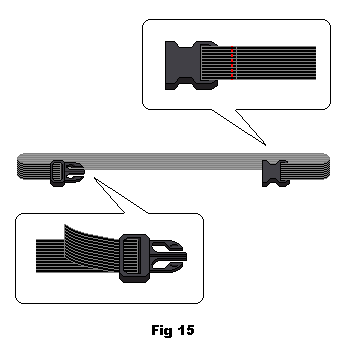
You will require a length of elastic that is long enough to sit comfortably around the waist plus about 20 cm extra. Attach the “female” end of the clip to one end of the elastic and secure with a line of stitching. Thread the elastic through the belt loops of the skirt. Attach the “male” end of the clip by threading elastic through the clip. This leaves some adjustability in the elastic length (fig. 15)
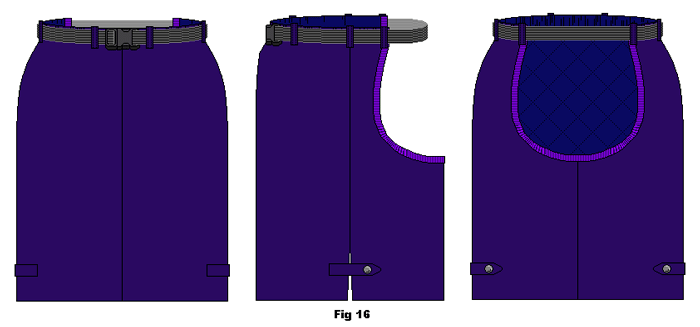
Finished example (fig. 16).

