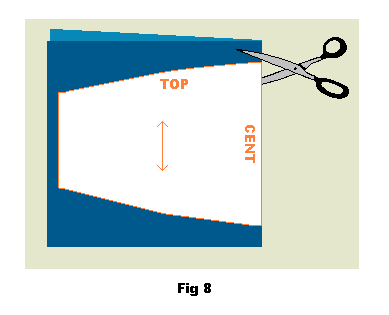
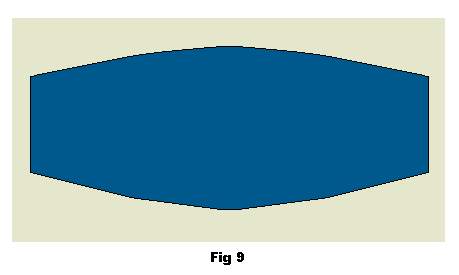
Cut out the pattern piece on the ffold of the fabric you have chosen for your adaptation (fig. 8). No seam allowance is required now as this is included in the pattern piece. As you can see in the right illustration below the fabric piece cut out will be dubbel the size of the pattern piece (fig. 9).
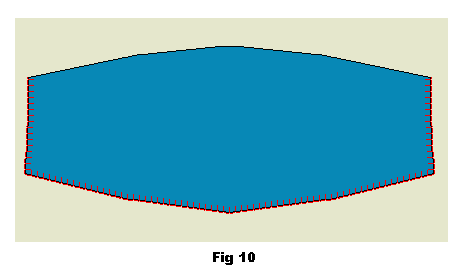
Overlock or zig-zag the side and bottom edges. (fig 10).
Fold the piece in half and lay on a new piece of folded fabric. Using the adaptation piece as a guide, trace the curved line and the side line onto the new piece of fabric as in the top two illustrations below (fig 11).
Make another line approx 6 cm below the top line, following the curve. Cut the piece out as in the bottom two illustrations below (fig. 11). This is now your FACING piece, it will create the tunnel through which the elastic can be threaded, and finish the back off neatly.
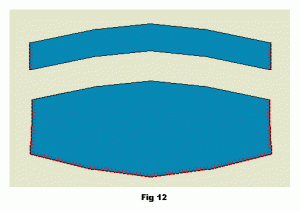
Over-lock or Zig-Zag the side edges of the facing piece (fig. 12).
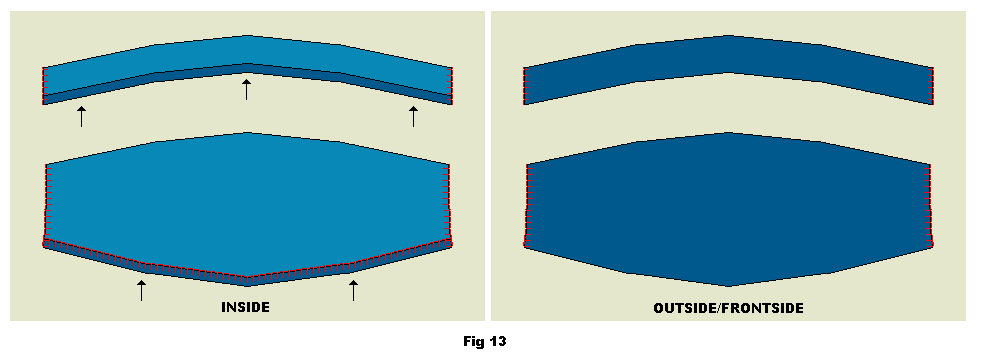
Fold the lower edge of the adaptation piece and the lower edge of the facing piece approx 1 cm up, right sides facing out and press flat (fig. 12 13).
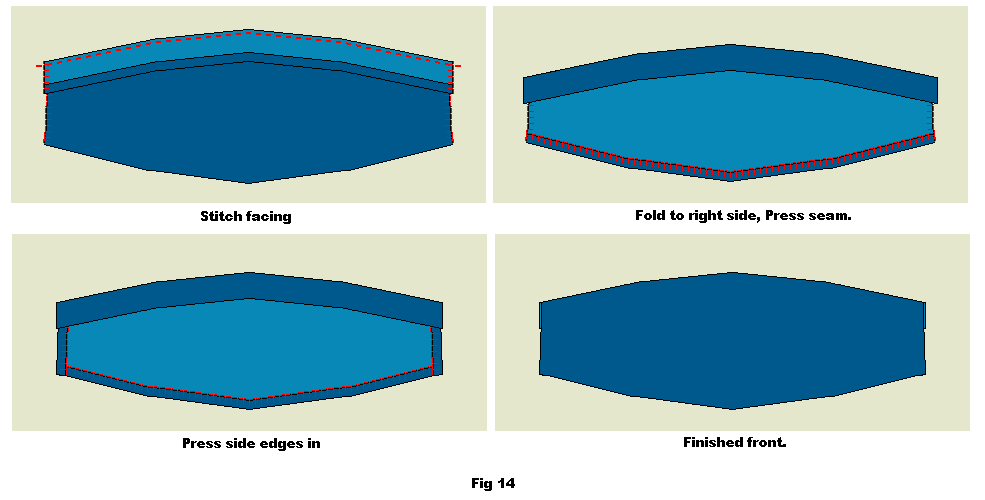
Pin the facing piece to the adaptation piece, right sides facing each other and sew together. Turn the facing piece so that right sides are facing out and press the seam line. Press the edges in 1 cm on both the adaptation piece and the facing (fig. 14).
Zig-zag stitch the raw edges of the jeans/pants (fig, 15).
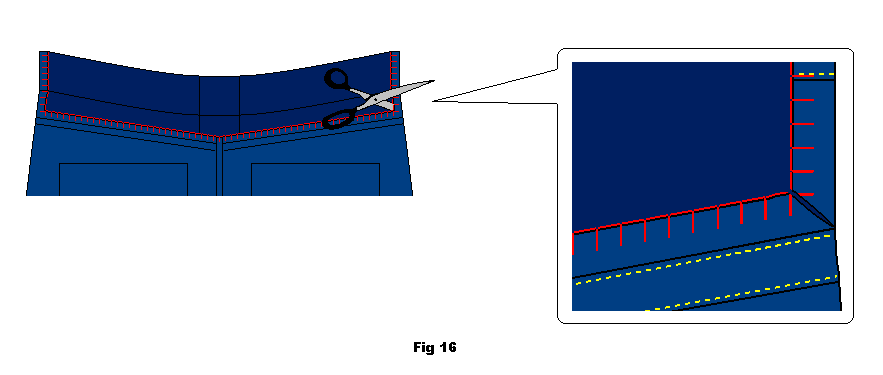
Cut small notches in the corners of the jeans/pants. This allows for more movement or the original garment when inserting the new piece (fig. 16).
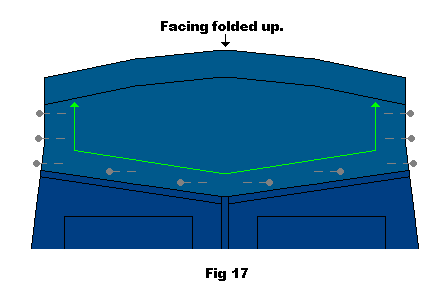
With the facing folded up pin the adaptation piece into place. Start in the middle then working your way out on both sides. Make sure the adaptation piece will fit in evenly by alternating putting in one pin to the right and then one to the left (equal distance) (fig. 17).
Pinning together the jeans/pants with the adaptation piece is done with right side of fabric facing you. You have already folded the edges of the adaptation piece and are covering the edges in the cut our section with this.
Hand sew the adaptation piece into place (fig. 18). 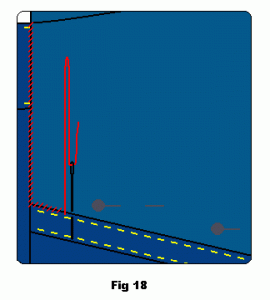
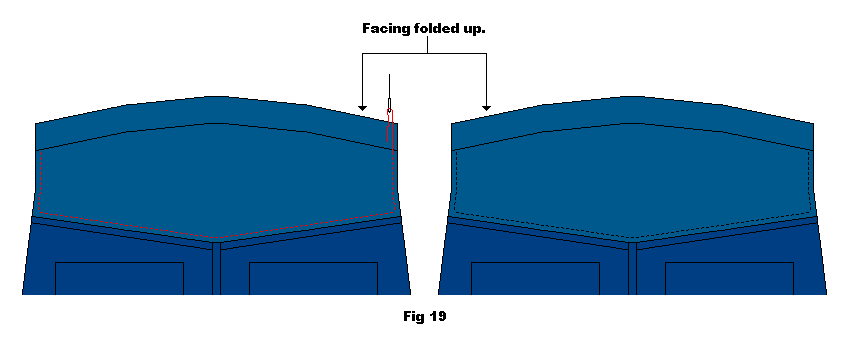
With the facing folded up use the sewing machine to top stitch over the seams to add strength (fig. 19).
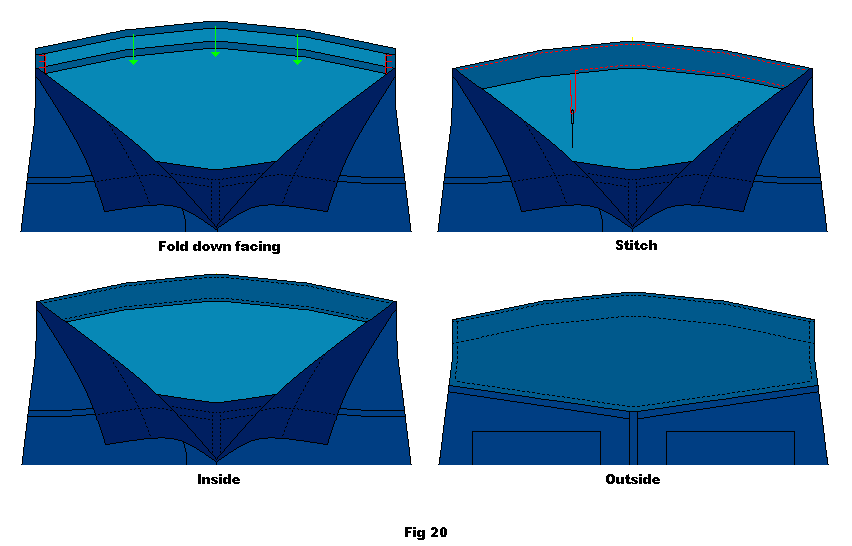
Fold the facing back down and stitch it to the adaptation piece Sew one row of stitching about ½ cm down from the top edge and one row about ½ cm up from the bottom edge, creating a tunnel (fig. 20).
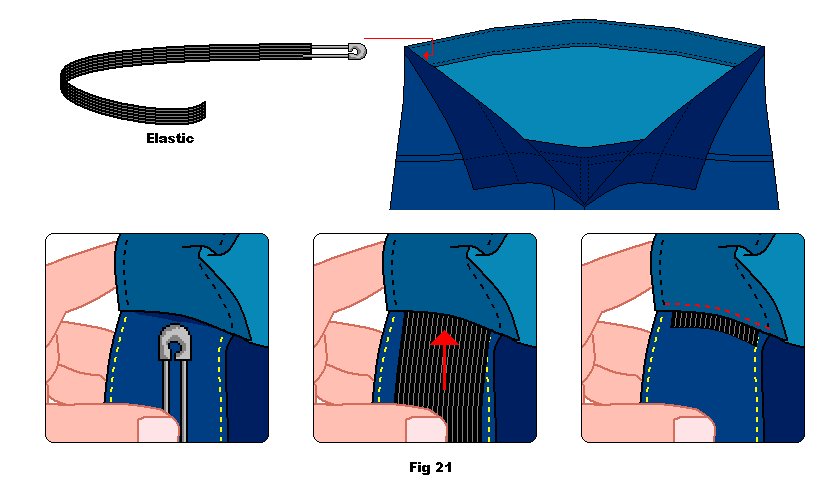
Cut your elastic to size (half the measurement of your waist) and thread with a safety pin. Thread the elastic through the channel. Remember to secure the loose end as you thread it through (fig. 21).
Sew the facing piece down on the sides leaving about ½ cm of elastic showing. The stitching will anchor the elastic in place (fig. 21).
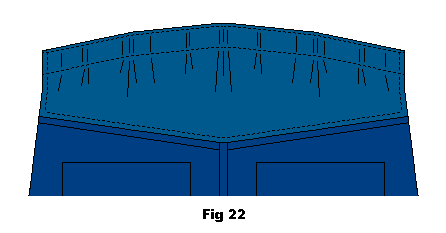
The illustration below shows the finished result (fig. 22).

